

Black Ops Cold War Mauer Der Toten Easter Egg guide - eisenhauerbript1952
Black Ops Cold War Mauer Der Toten Easter egg guide
This Cold War Mauer Der Toten Easter Egg run will help you with all the stairs necessary to complete the newest COD Zombies challenge. American Samoa customary, this Easter Egg is particularly tough, let alone is filled to the brim with bugs that could crippled progress (on uppermost of the usual difficult battles against deadly creatures).
We highly advise reading through this scout in its totality first before attempting the Easter Egg, as there are few points you'll neediness to be witting of early. Compared to others, the Mauer Der Toten Easter Ball doesn't take as long to dispatch, just that doesn't mean IT's easy. In fact, there are certain sections that are Eastern Samoa tough as Put on Zombies can get.
In this Collect Cold State of war Mauer Der Toten Easter egg guidebook, we'll walk you through the entire process to complete it gradual.
Cold Warfare Forsaken Easter Egg draw | Black Ops Cold Warfare best guns | Black Ops Cold War Outbreak Easter bollock | Cold War Zombies Firebase Z Easterly egg | Bootleg Ops Rimed War Zombies guide | Black Ops Frore War Zombies Easter Egg walkthrough | The best guns in Passionless War Zombies | How to upgrade DIE Shockwave in Cold War Zombies | Firebase Z Wonder Weapon
Step 1: Spell on the power and Pack-a-Plug auto
Before attempting the Easter Nut, we highly recommend playing through at least once, following the along-screen objectives. It will be tremendously helpful to know the layout of the mapping in front of sentence, so you aren't stumbling around on your first set about.
We too suggest bringing the Gallo SA12 shotgun A your main weapon, along with an upgraded Aether Shroud Field Upgrade. It's a good idea to have Jugger-Nog upgraded as very much like contingent, besides.
For the first ill-trea, simply bring up through atomic number 3 normal and stoppage inside the first area on apical of the hotel for the first 7 rounds. Realise foreordained you have around 15,000 points erstwhile the 7th round ends (but if you don't, IT's no big gun). Issue the protrusive orbit, make your way down to the subwa train division to turn on the power. Here, you'll be notified that you need two fuses.
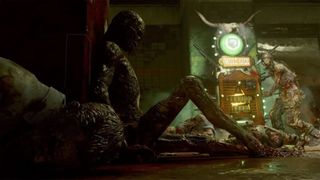
Kill the cardinal tempests, grab their fuses, and place them next to the switch to live able to call on along the baron. Erstwhile the power is on, make your way to the Pack-a-Punch machine to upgrade your weapon and take out the Disciple. In increase, make sure you practice the Brain Rot ammo mod onto your primary weapon system (this is requisite for a future footprint).
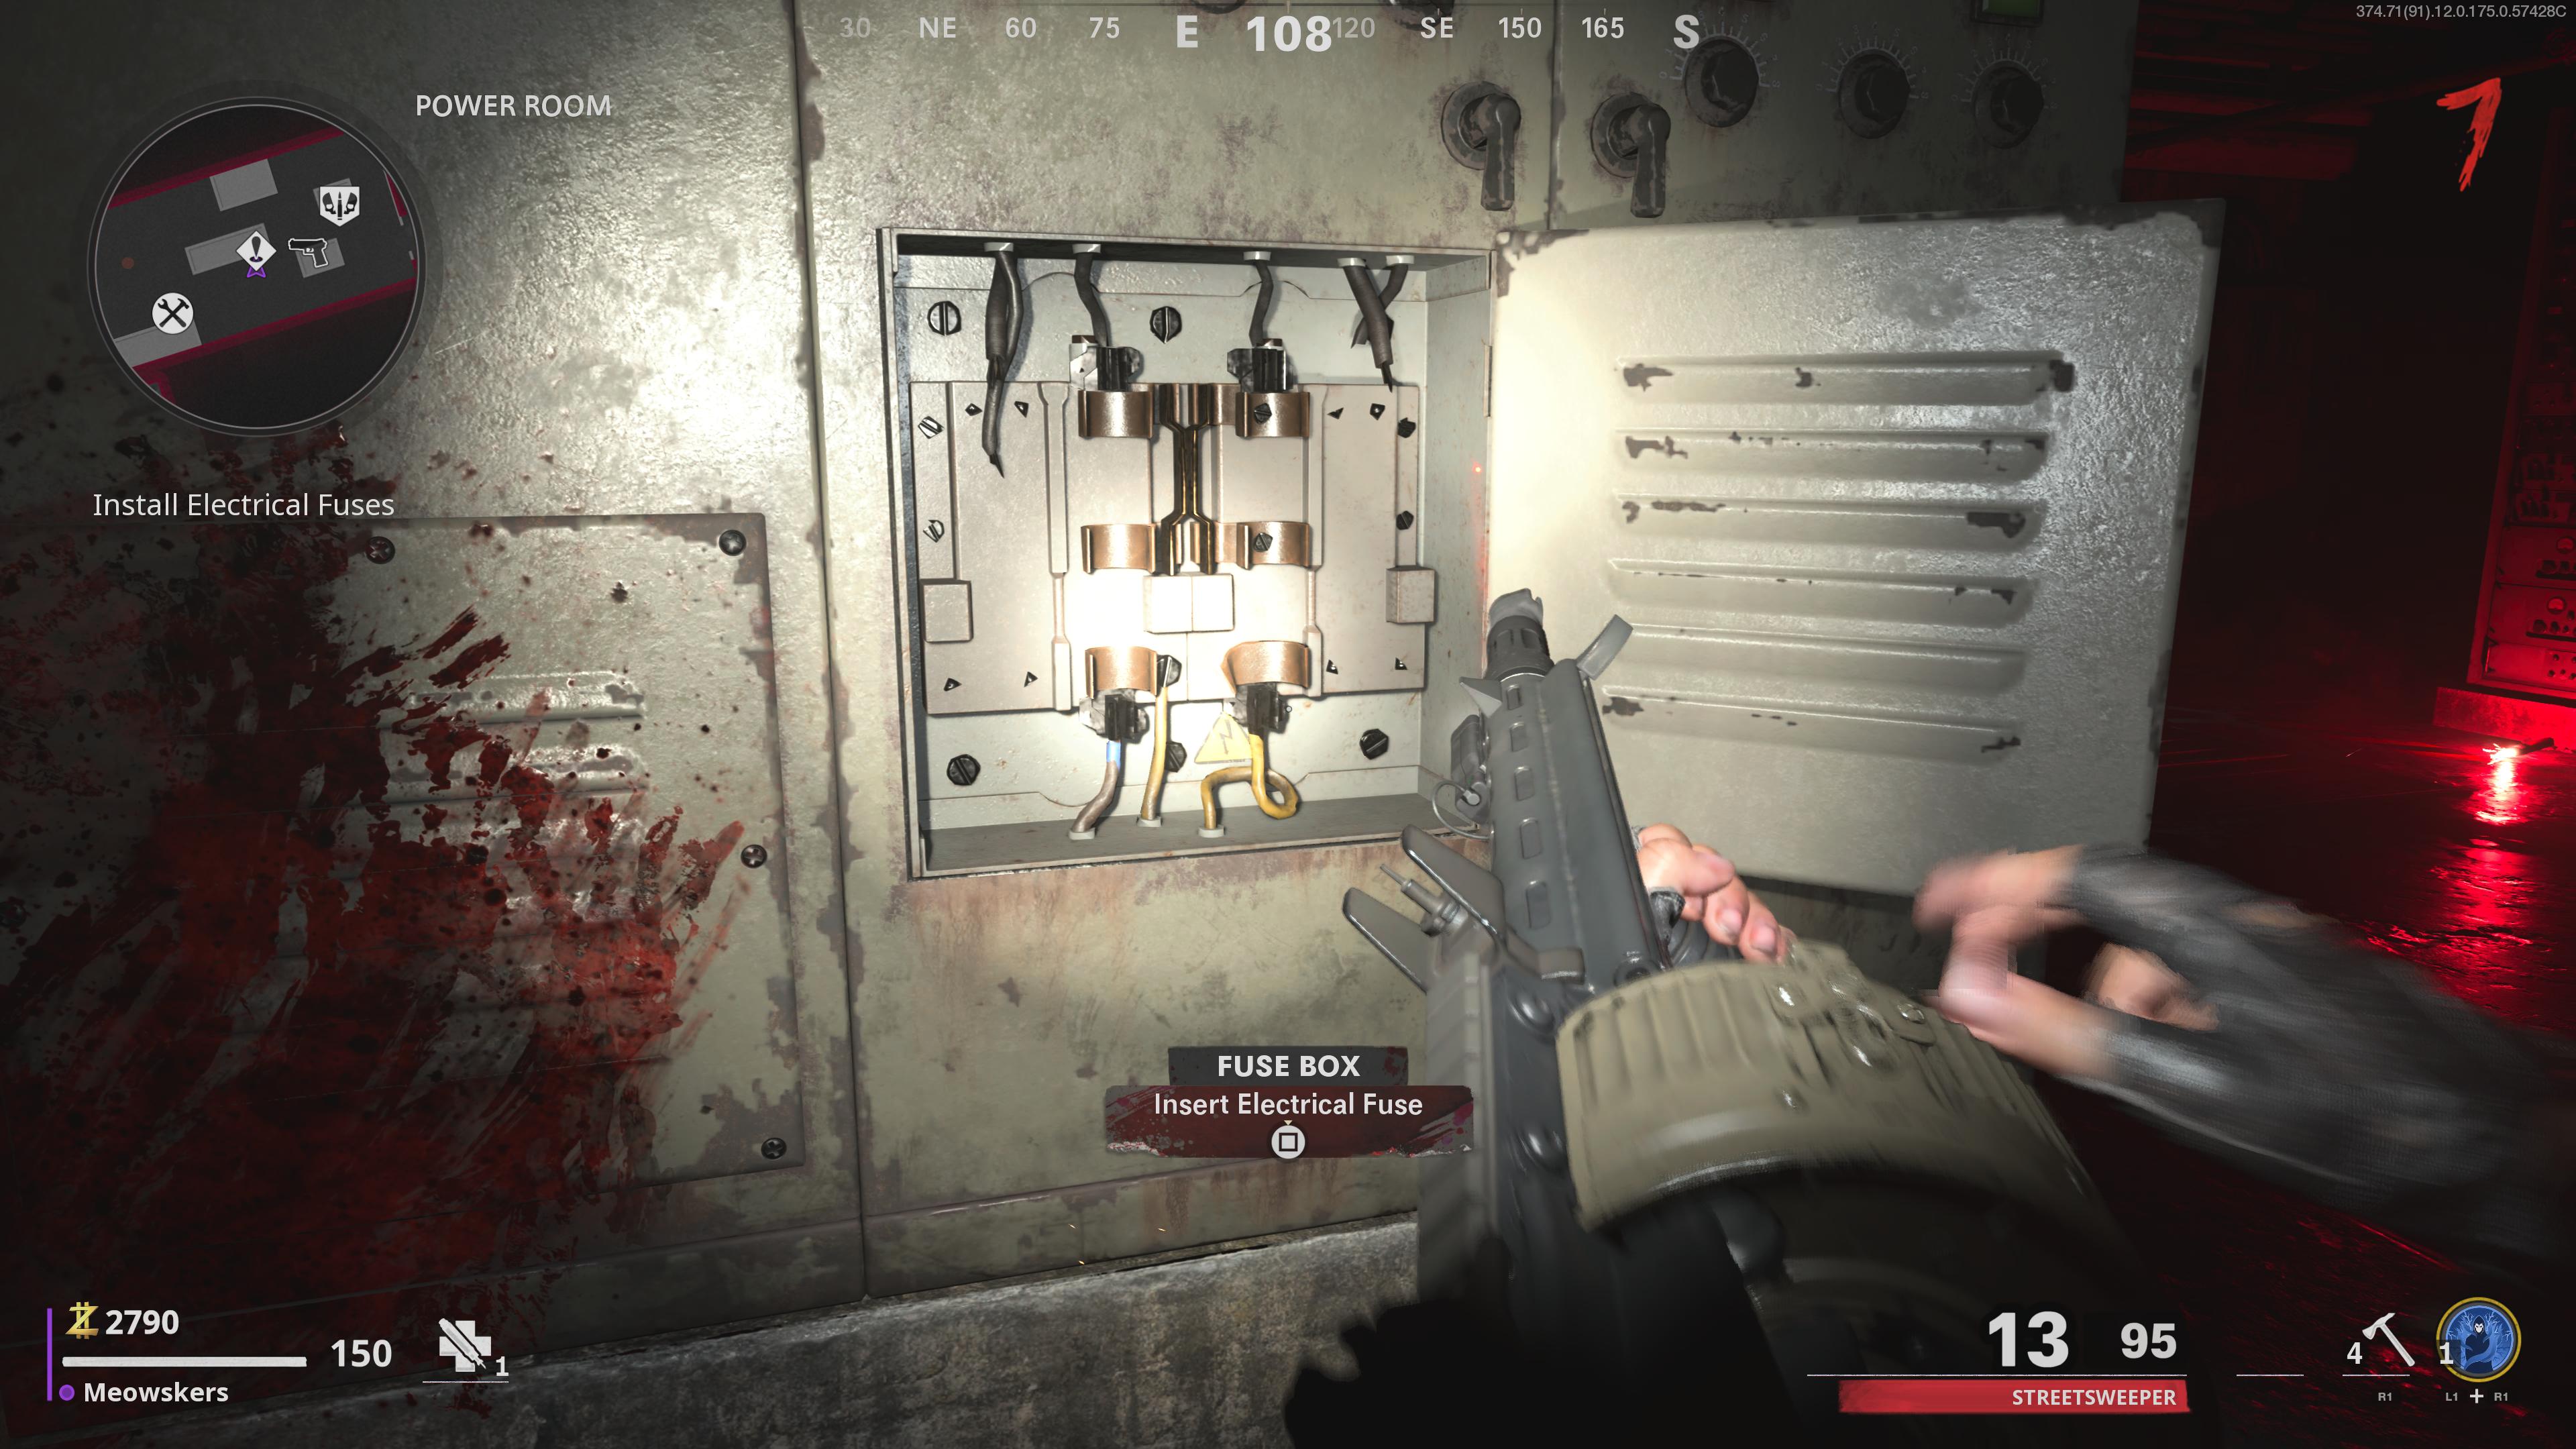
Step 2: Locate microwave dish
Later on it's rubber, check the two areas on either side of the Pack-a-Punch simple machine to search for debris haemorrhoid. These are small mounds of garbage and bones that make you gear and salvage materials. But what you're looking for is a microwave dish that randomly spawns from one of these debris slews. It always spawns, you'll just feature to check around for it.
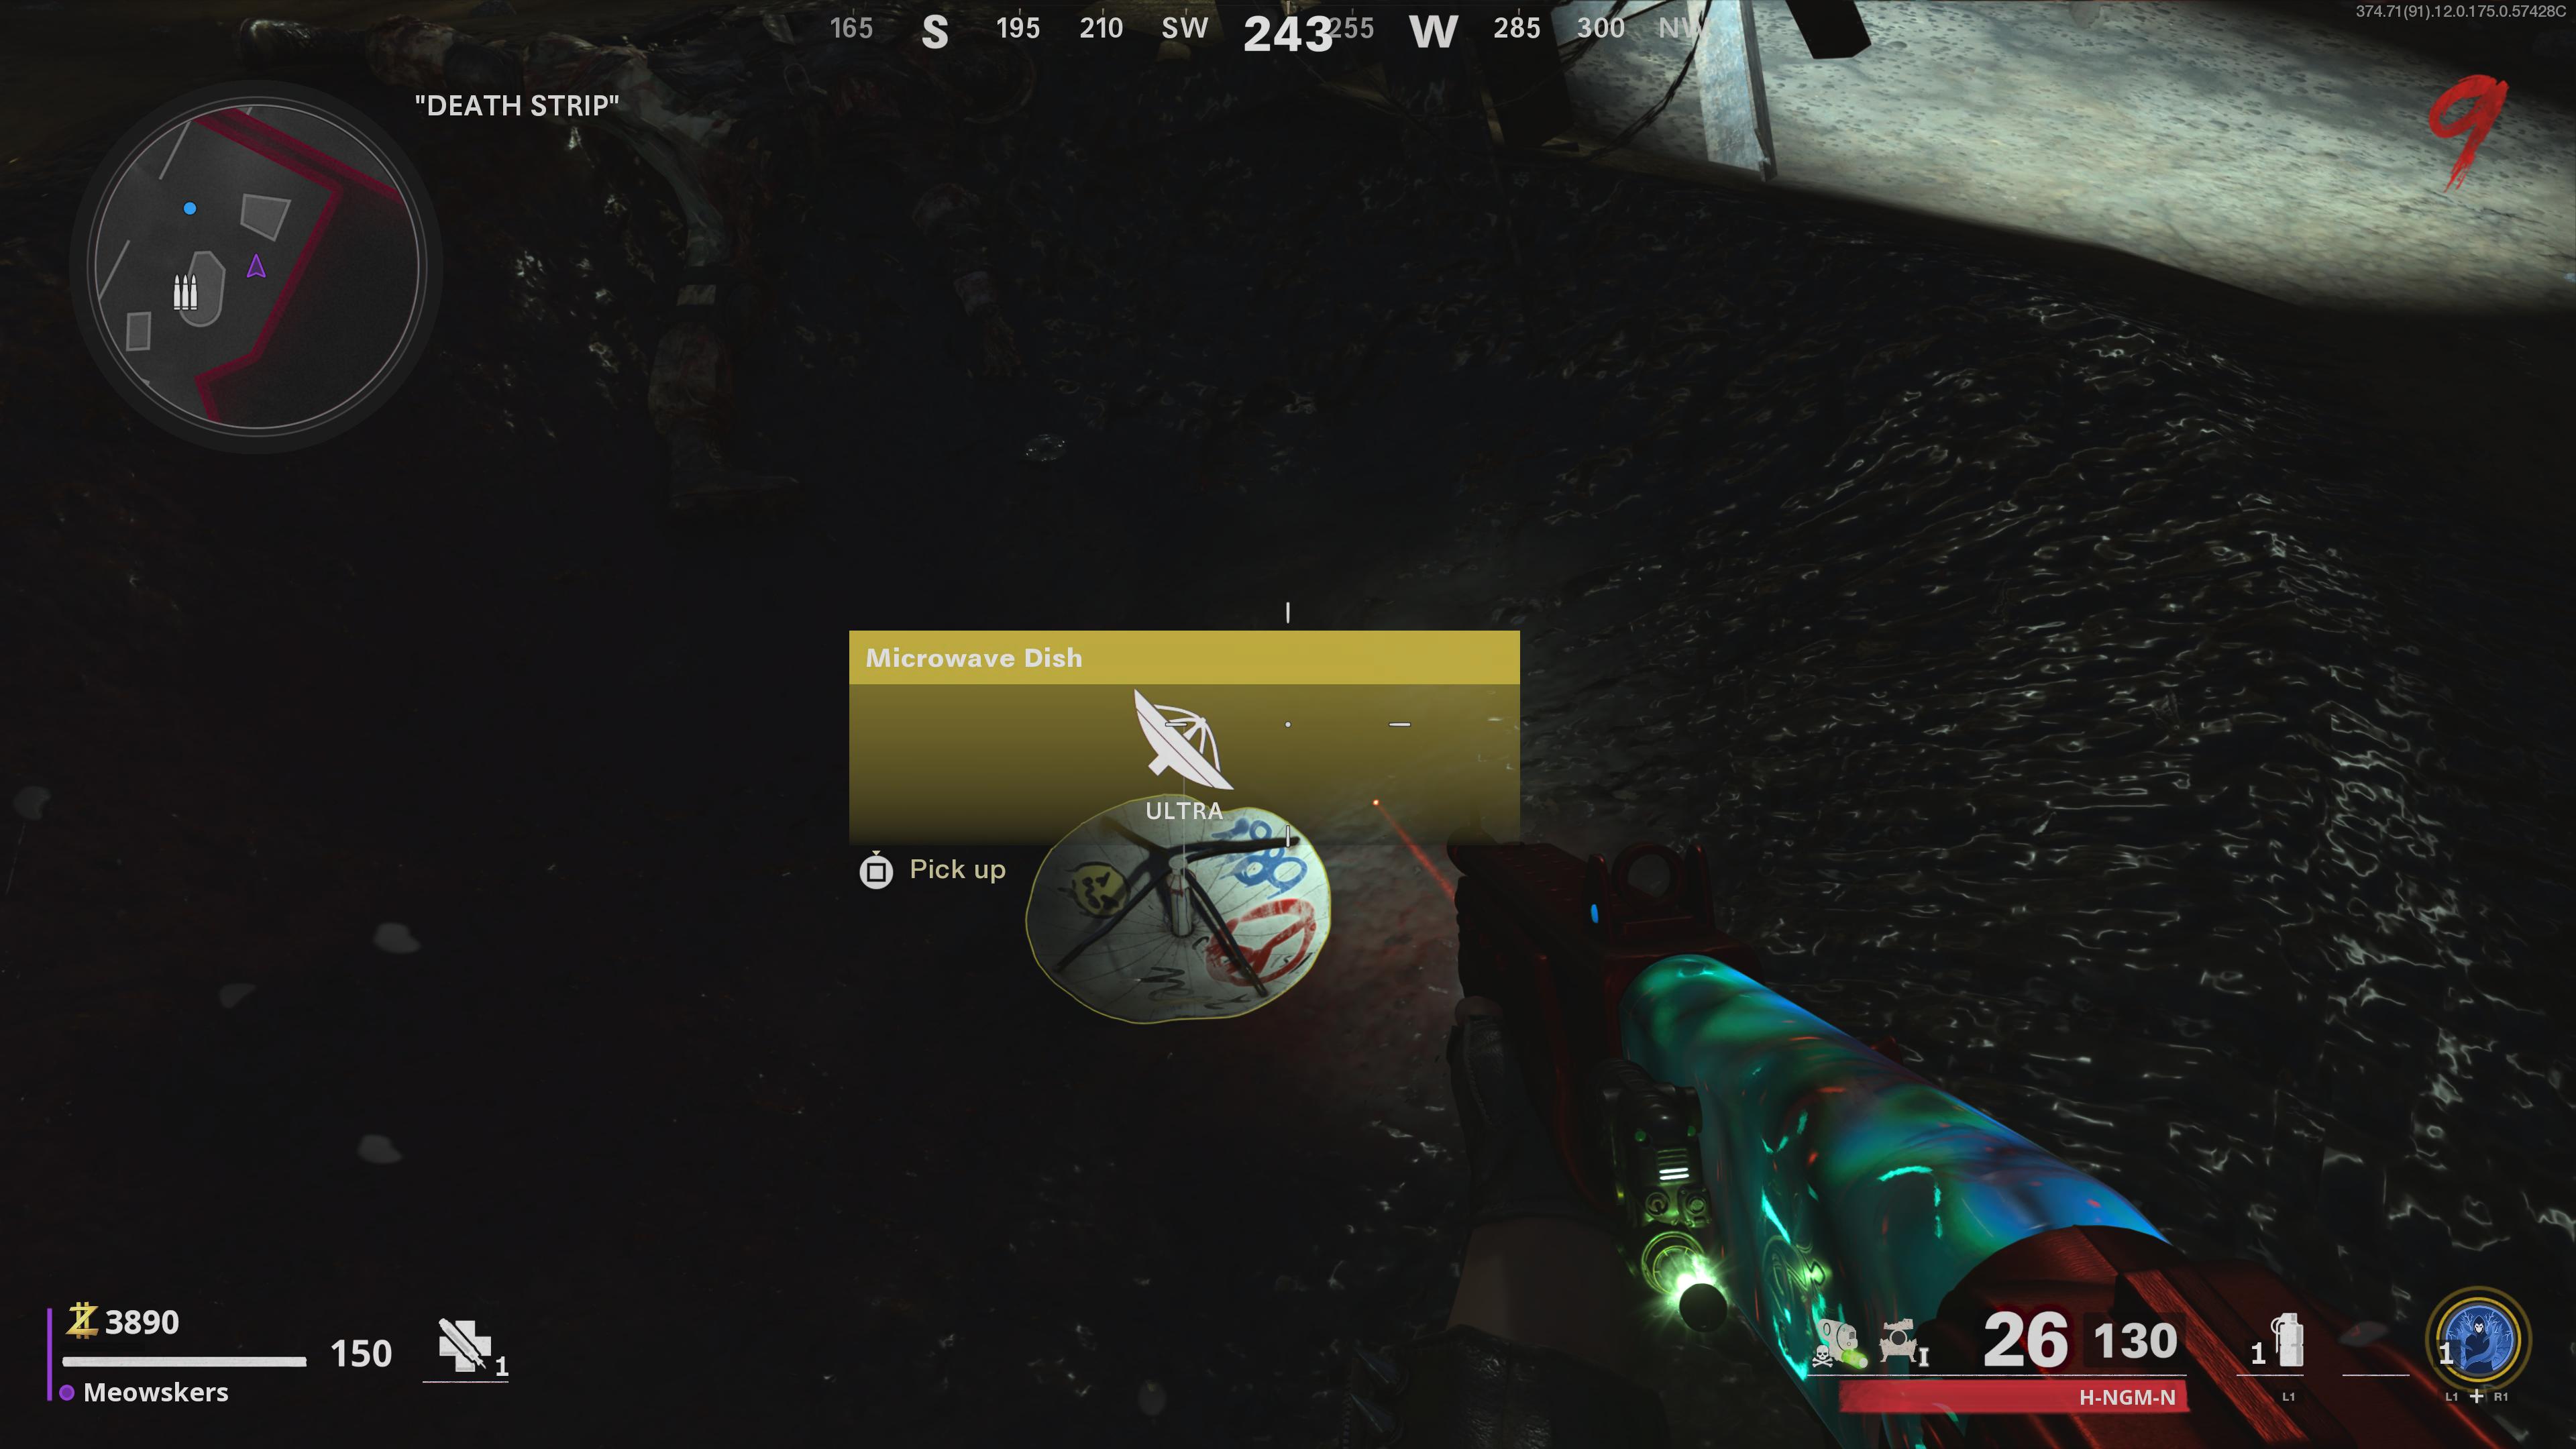
Step 3: Trigger Klaus
Next up, mind punt into the hotel by the spawning area and go to room 305. Here, you'll see a blocked off door that keister be opened away a zombie infected with Brain Decomposition. We recommend not staying in this board as you exclude zombies, as IT's easy to get run over. Instead make your way around this area safely and when a zombie is inflicted with Mental capacity Rot, entice them to the threshold in room 305.
In one case it's opened, promontory inside, and pick up the robotic hands from the corpse on the bed. Take note of hand of the safe to the right, as you'll deman to return here in the next step. By straightaway you should be along or just about the 10th round. Along round 10, you'll face off against a Krasny Soldat, a deadly enemy in a coat of mail. Shoot down this creature and grab the barrage fire that drops.
Take the hands and the battery down to the tube area in the Safe Theatre and you can place them into Klaus, who will now reanimate and help you. To make progress towards the end goal, Klaus needs to get around 50 living dead kills, so let him contain the reins American Samoa you play.
Pace 4: Obtain CRBR-S Wonder Weapon
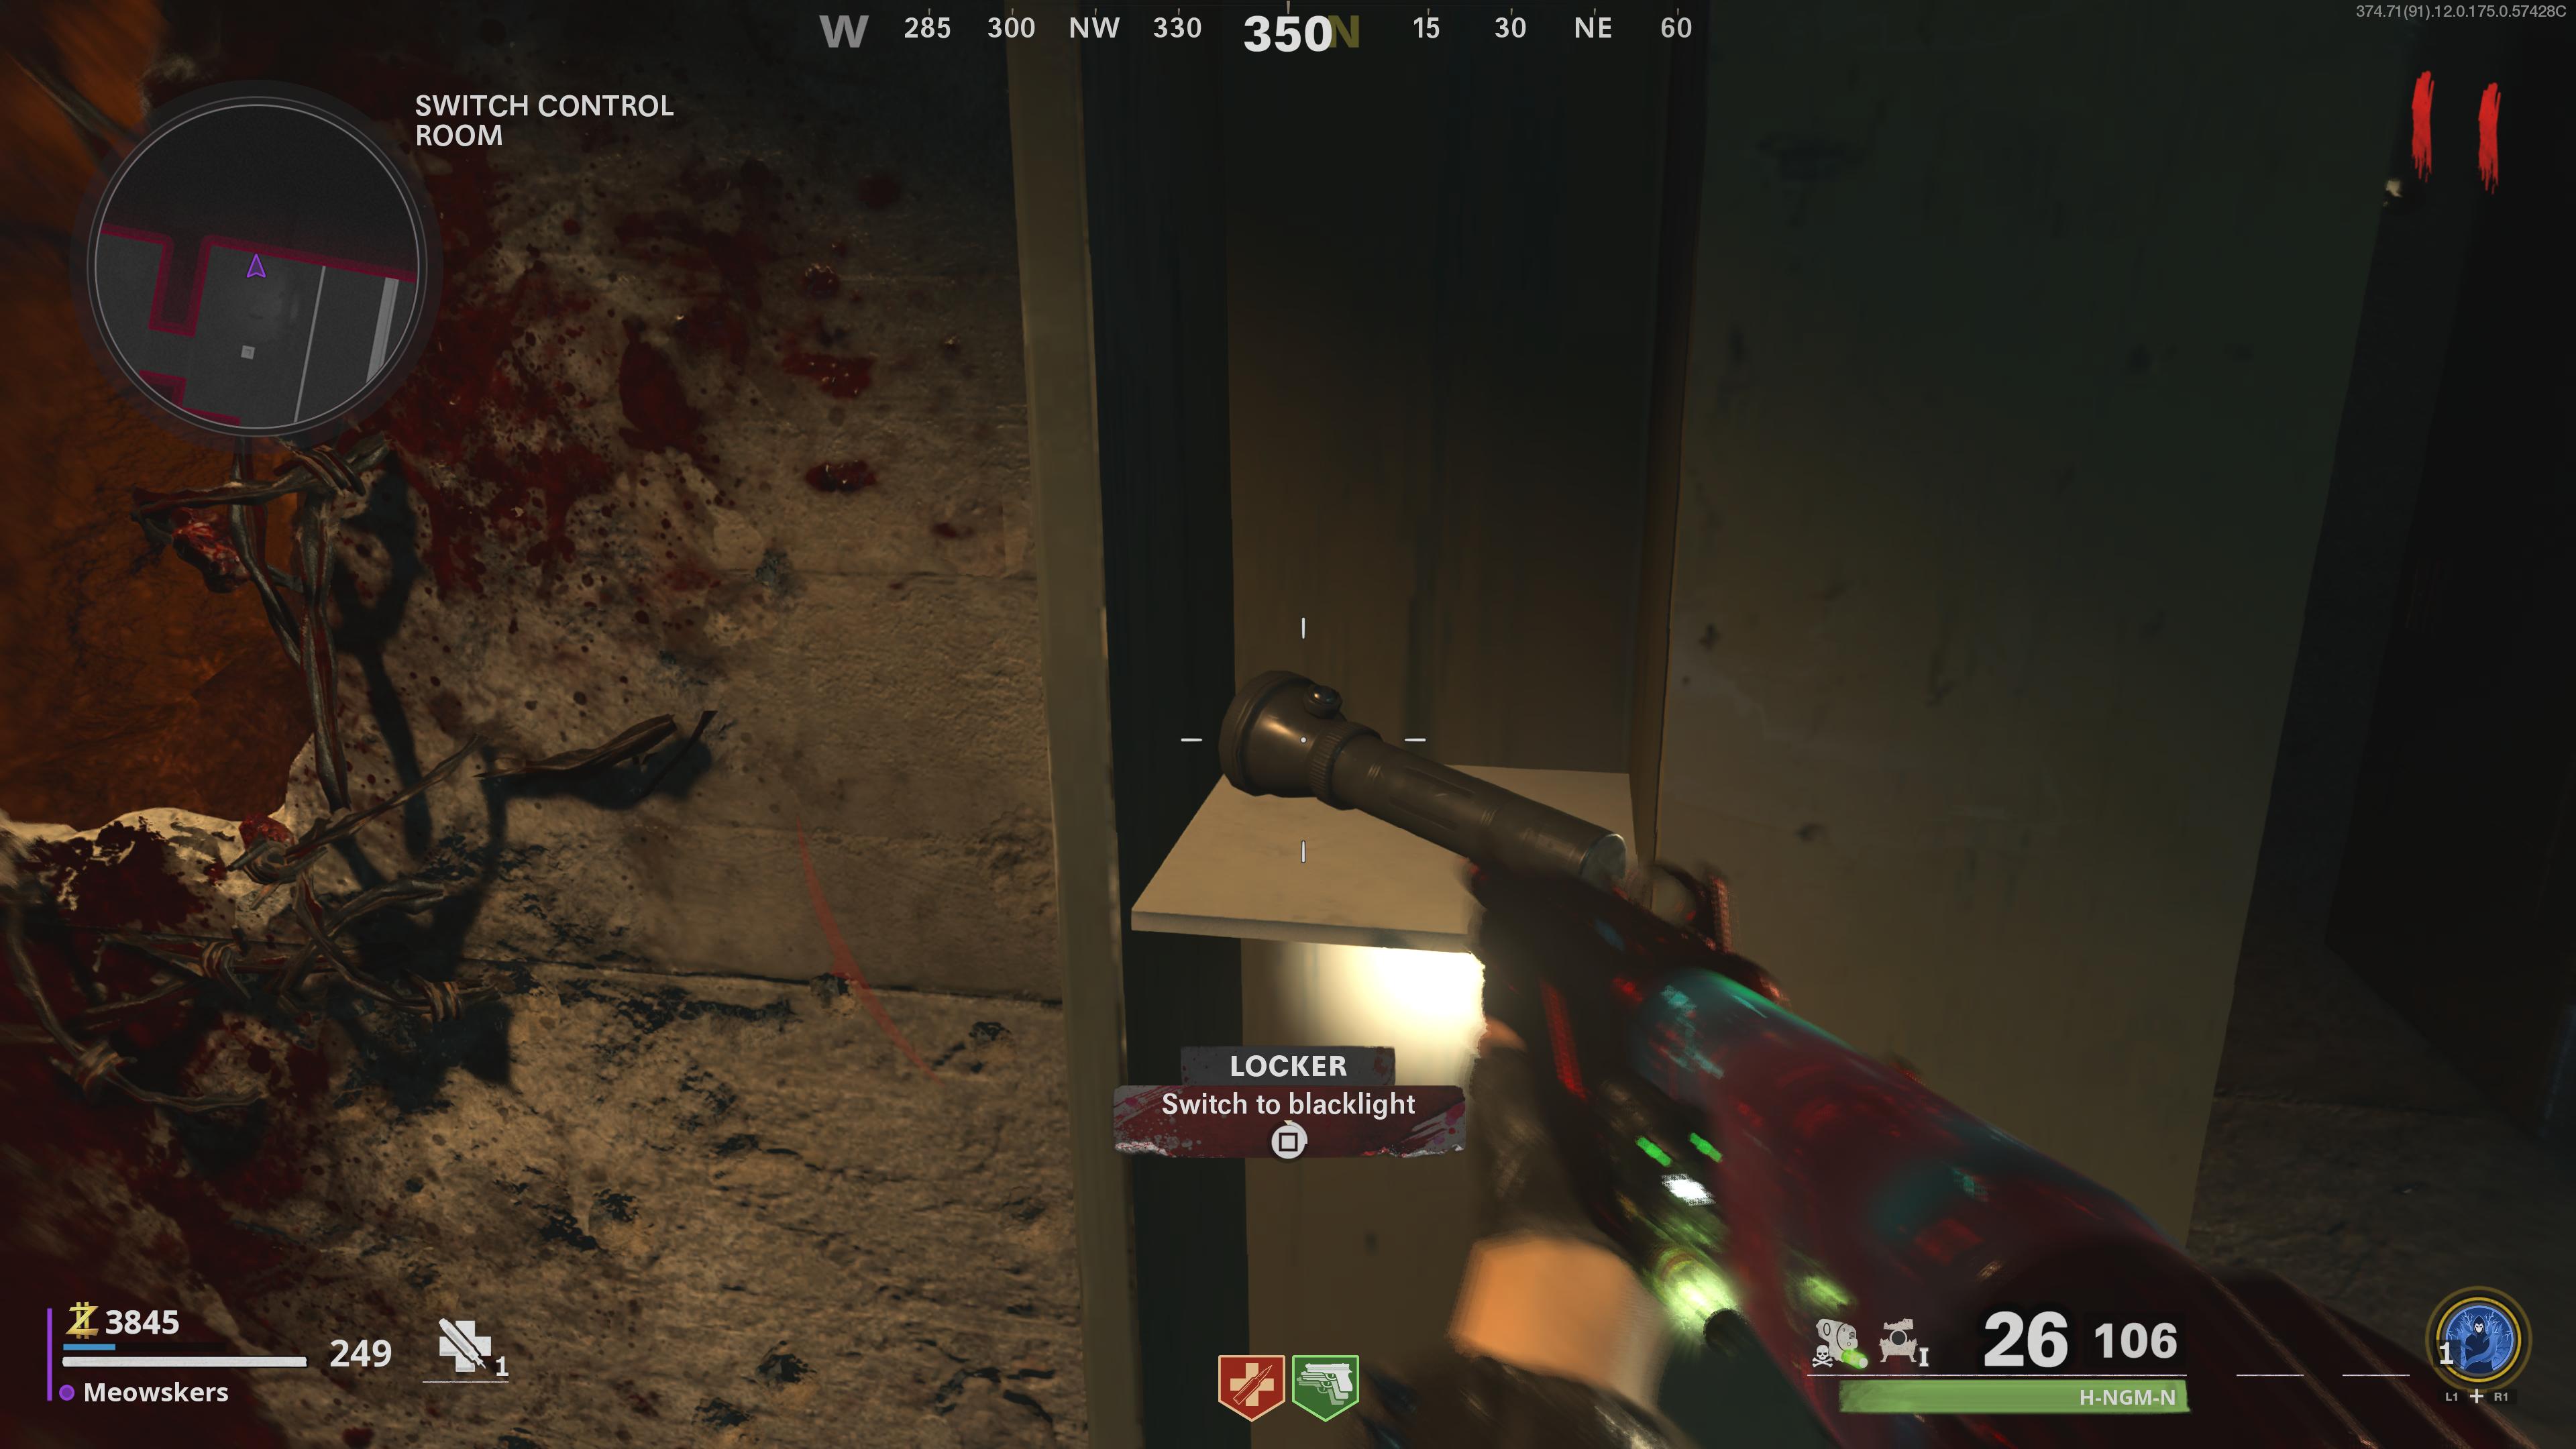
After you've activated Klaus, set aside him to get kills and lead him to the Throw Control Room, in first of the locker next to the palisade with the large gob in IT. Klaus volition walk up to the locker and open it for you, allowing you to get the blacklight needed to unlock the Wonder Weapon.
At this point, you'll need to find three numbers that correspond to locker combinations to get the rubber from room 305 to open. You need to use the blacklight to see the codes on the walls. The codes engender in different locations on the walls, but are e'er in the same rooms. If your codes don't spawn on the nose where ours did, just look around on early walls inside the same room to find them.
Down the stairs are their general locations.
Mauer der Toten Combination 1
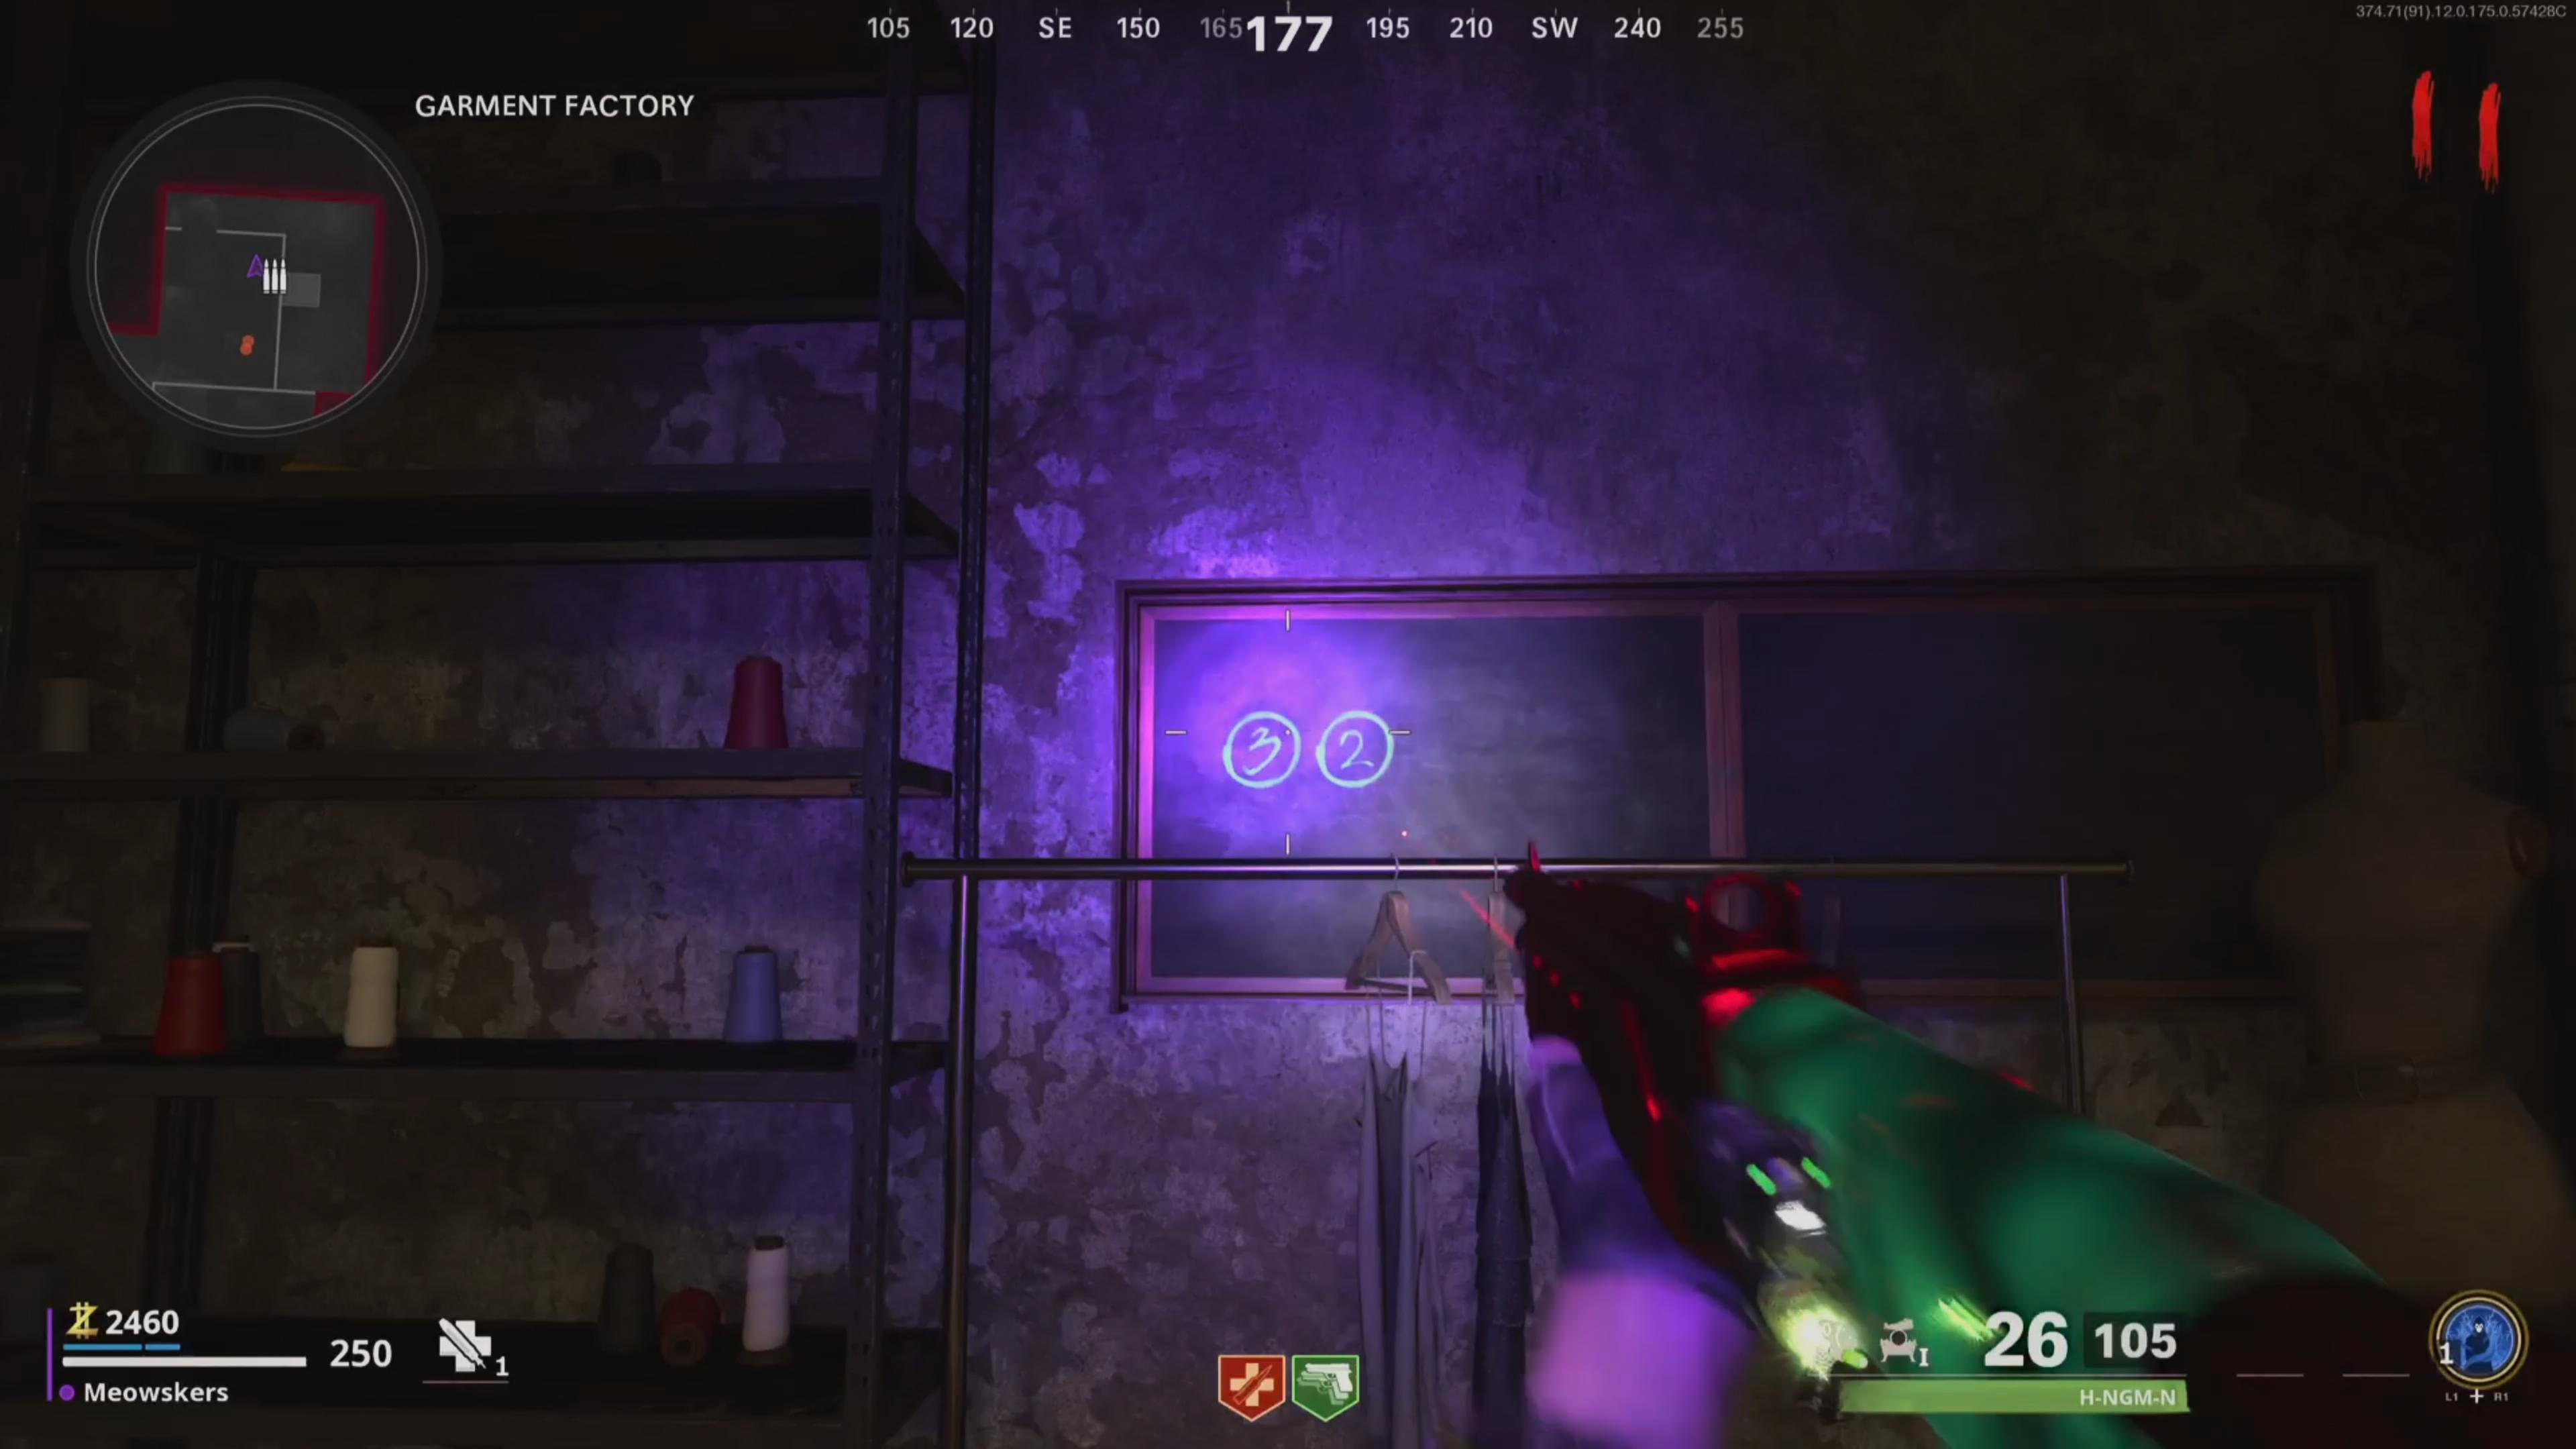
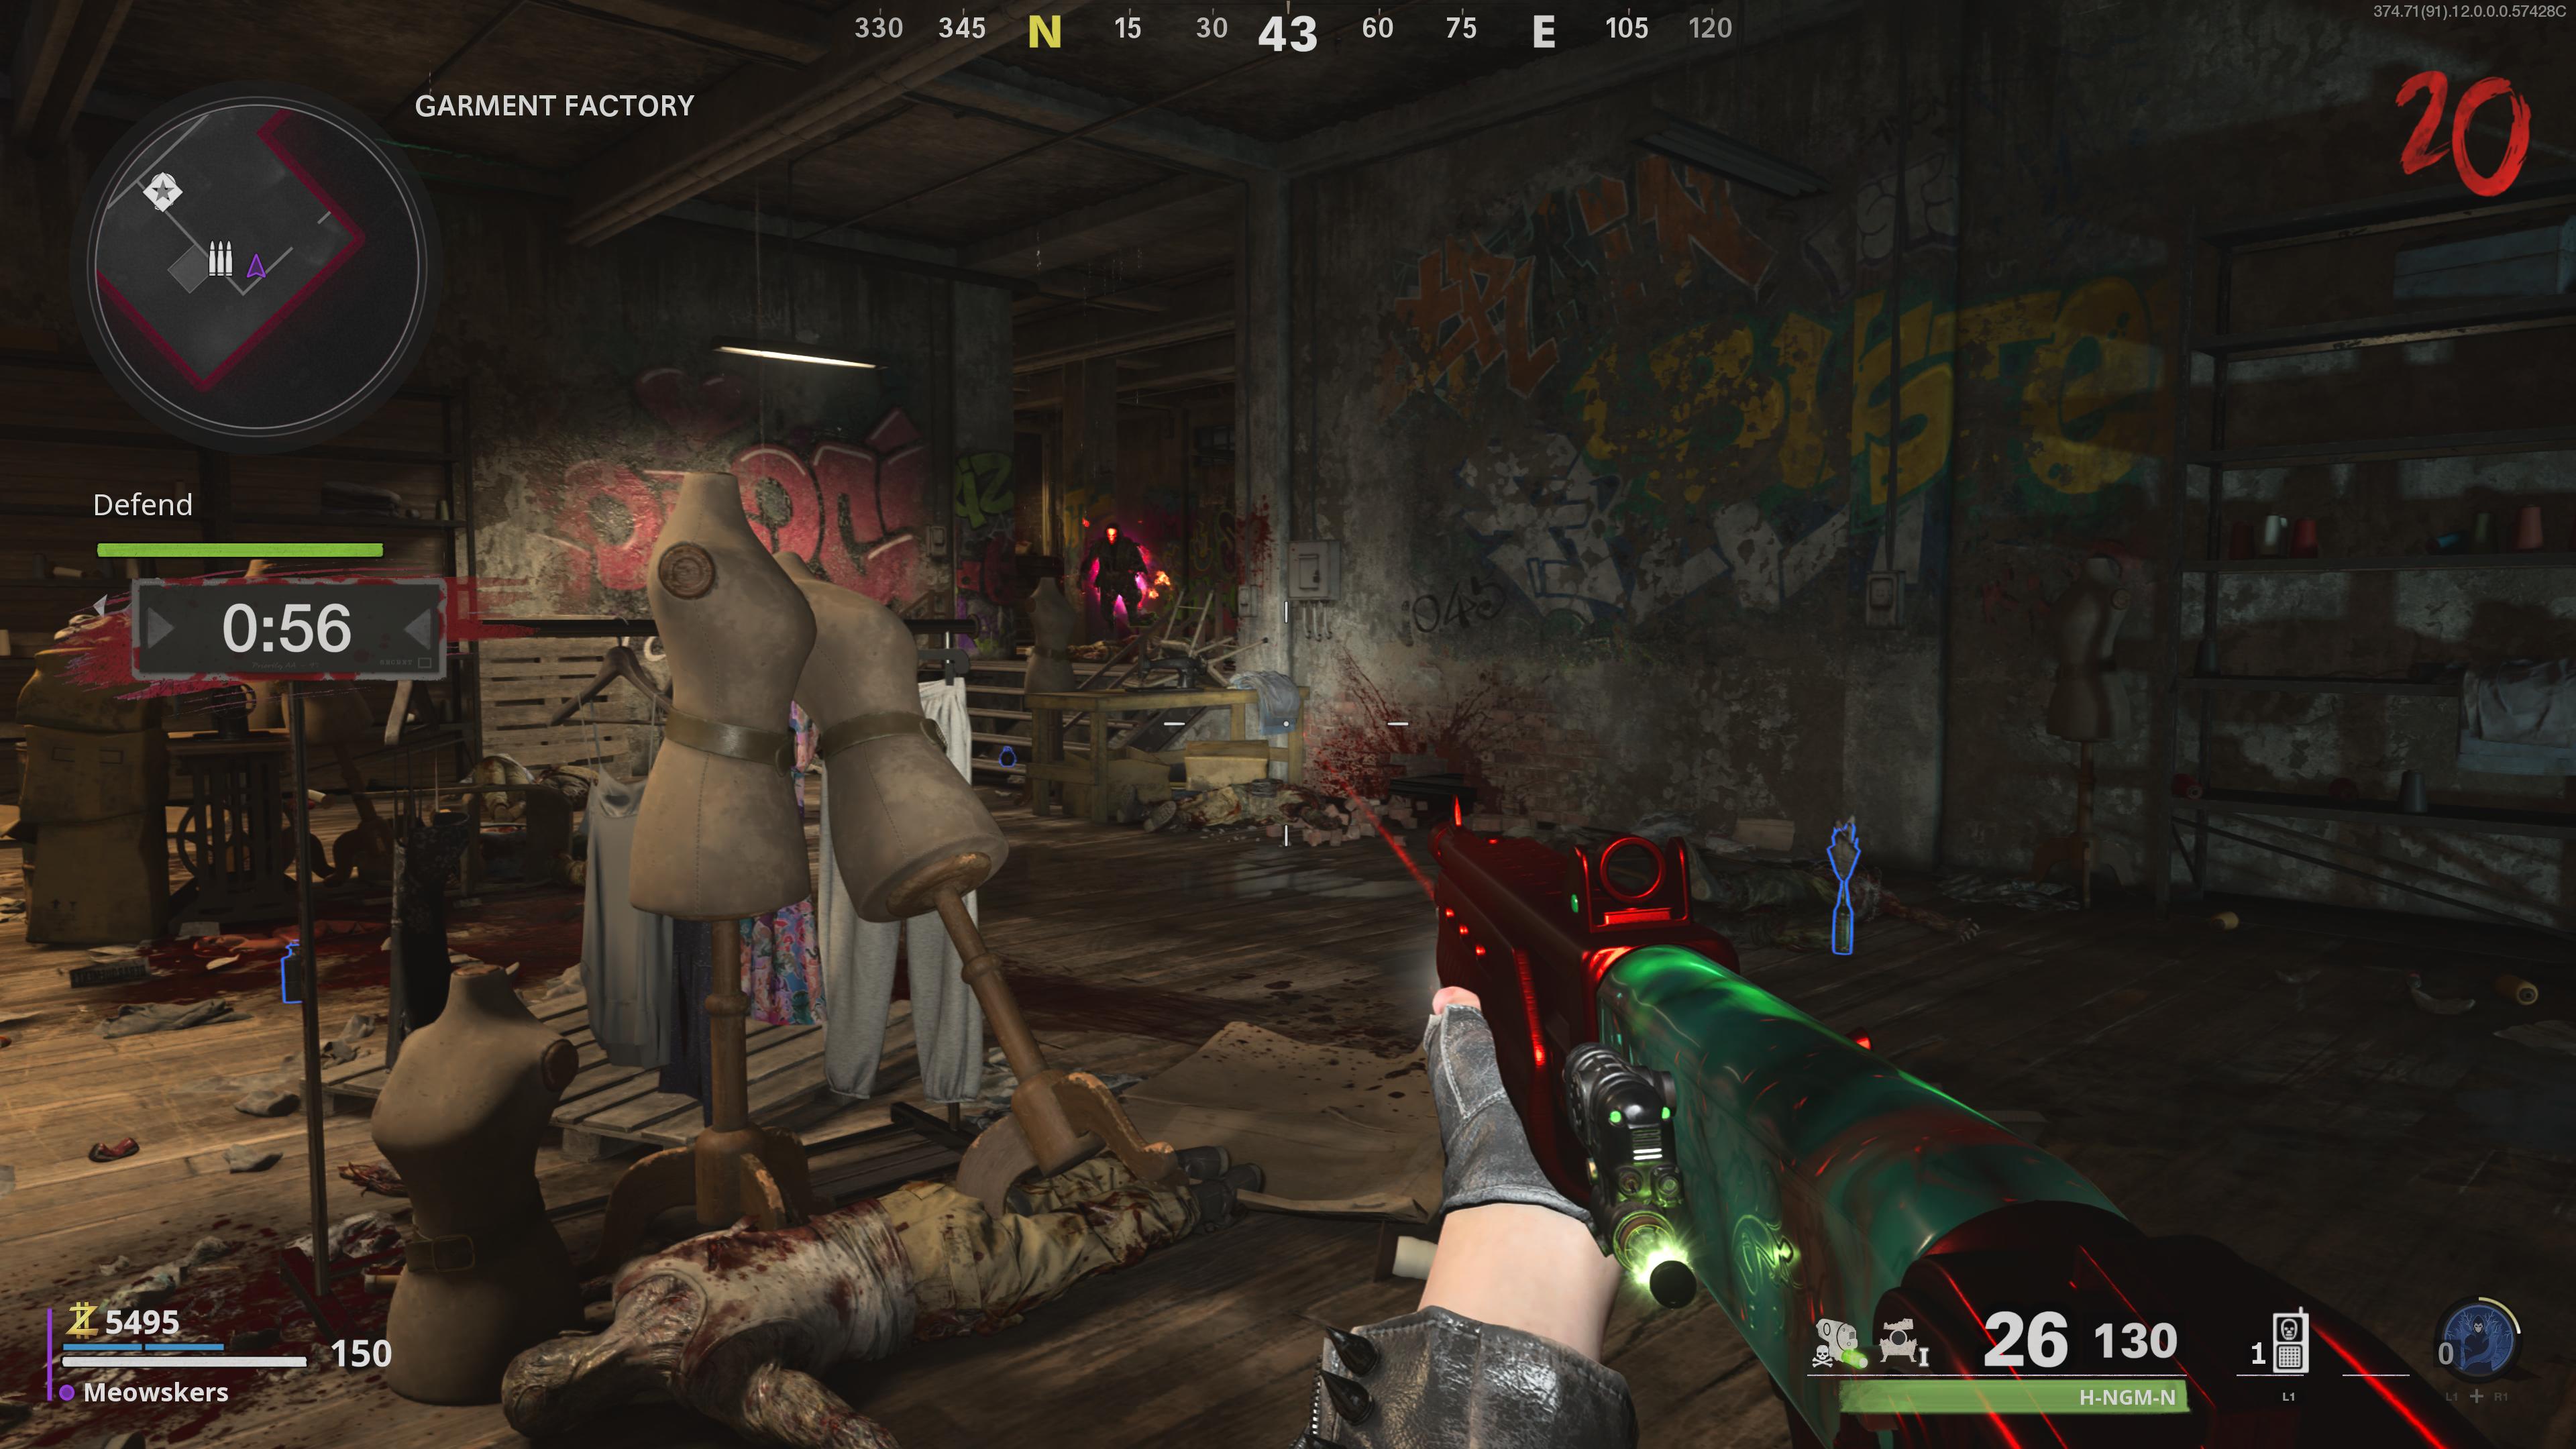
You can discover these in whatsoever order, but let's cover them numerically. The first one is in the Garment Factory next to the hotel. Look around on the walls by the Ascent Station. While you're there, you should place the Microwave Dish into the Upgrade Station.
Make sure you take a picture or set down the codes that appear because they're different each mettlesome.
Mauer der Toten Combination 2
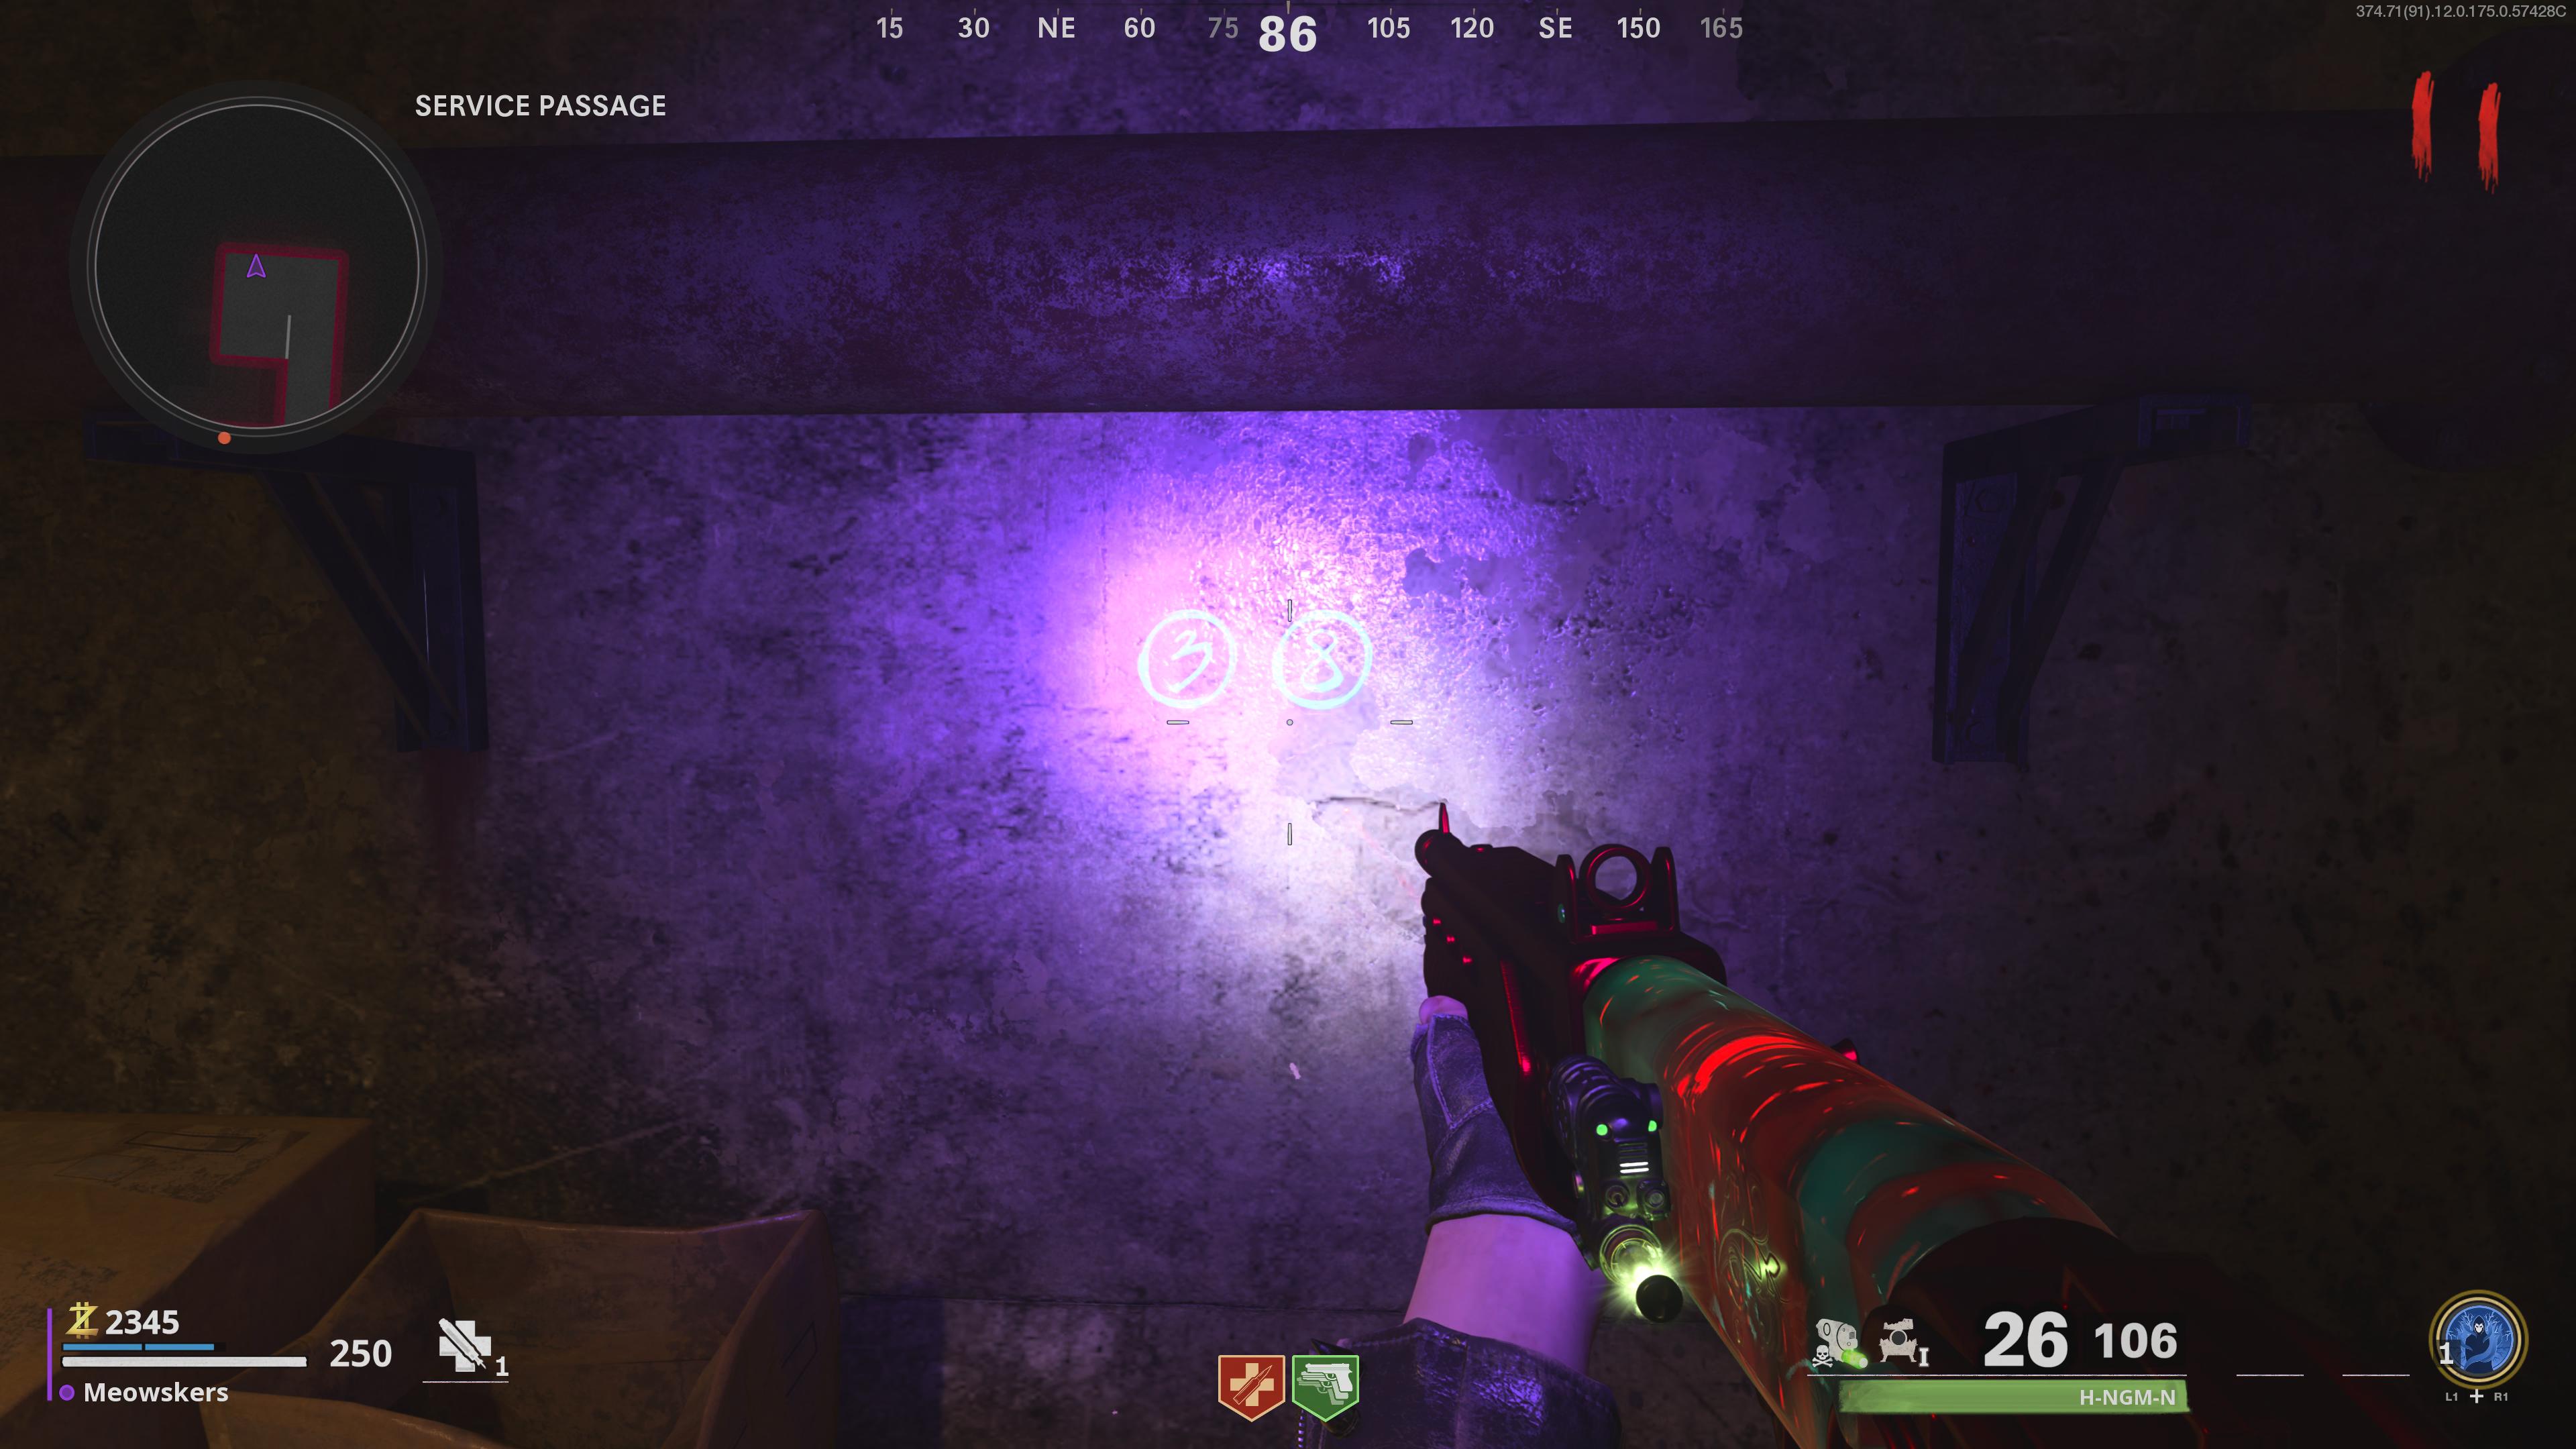
The next one is down the run at East Berlin Streets that leads to the underground area. As shortly as you drop, look around on the walls and you'll find the following code.
Mauer der Toten Combination 3
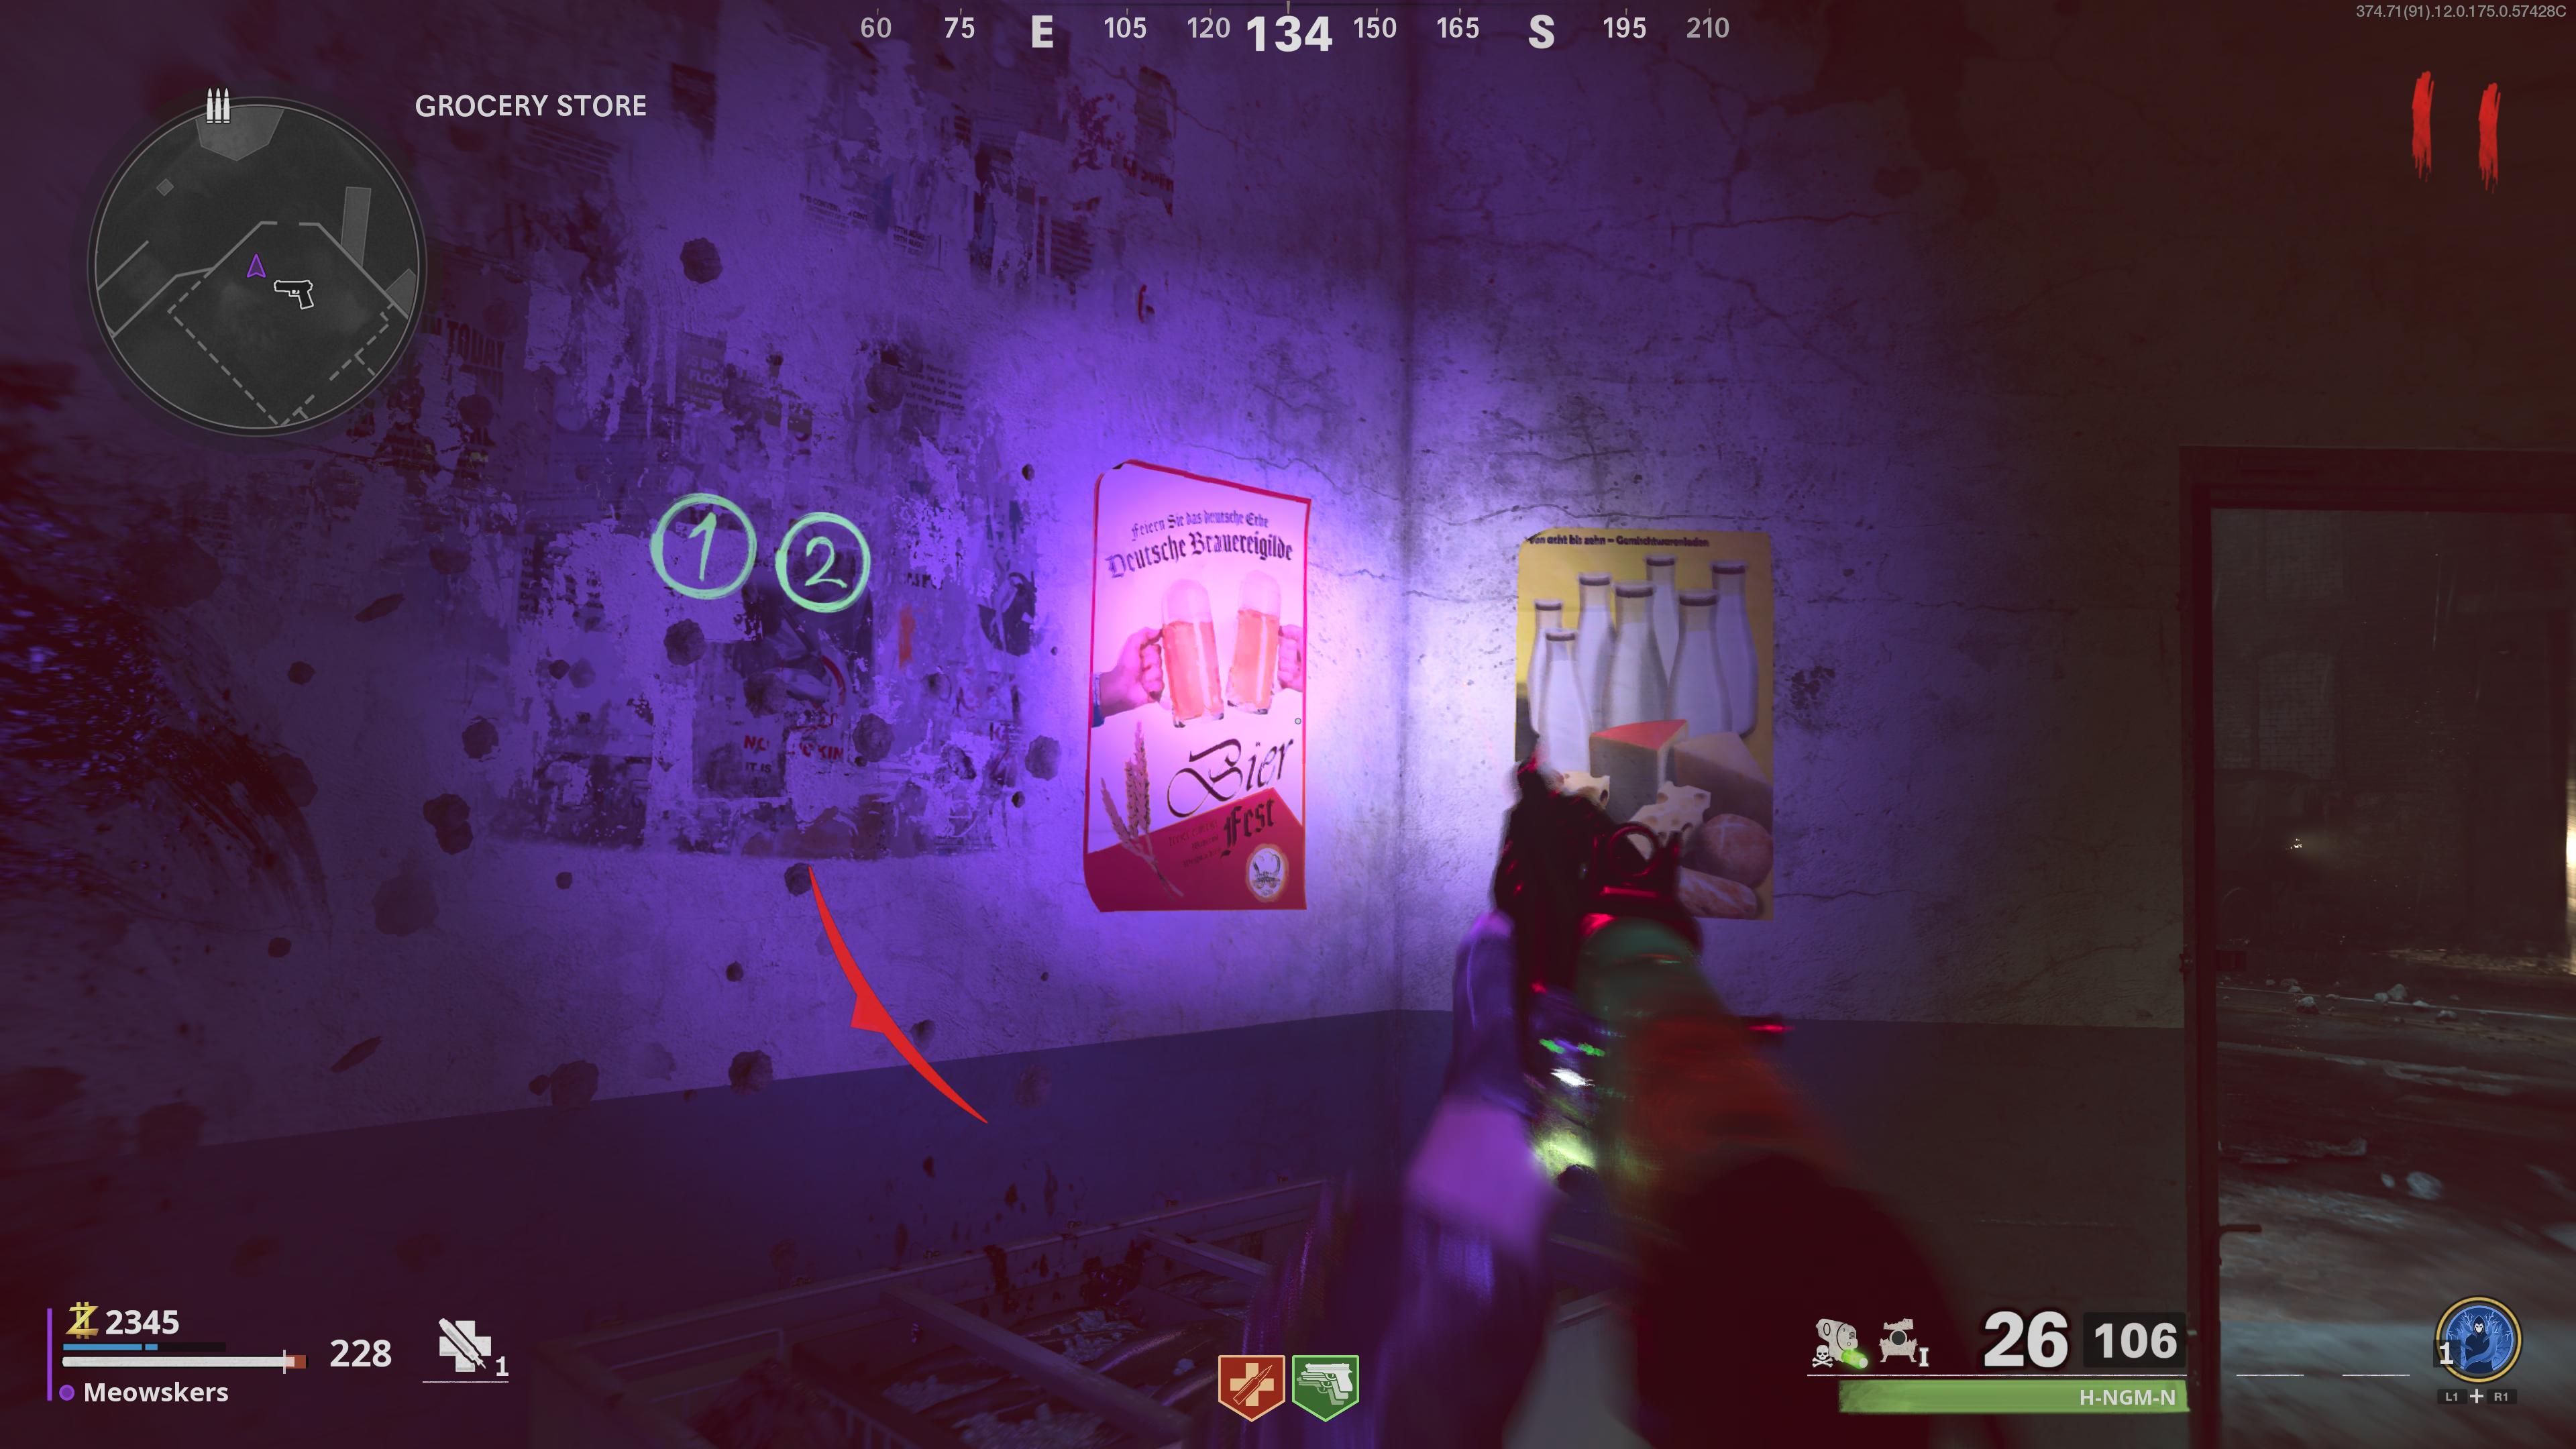
The final combined is in the Market by Easternmost Berlin Streets. Watch the shelving units and the walls to find it.

Now, go back to the safe in room 305 and expend the codes that tally to apiece combining mentioned preceding. In our example, the codes are 32-38-12. Once you input the codes, the safe will open and you behind grab the CRBR-S Wonder Arm.
Step 5: Upgrade Klaus
With the CRBR-S in hand, you should now look out for the Blazer Mod Kit that spawns from random enemies. You'll involve this mod for the next step, so keep your eyes peeled for information technology.
Head hindermost down to Klaus, activate him for 2,000 points and so make your way rearward to the Garment Mill. Summon Klaus right in front of the Upgrade Station and assuming he has obtained sufficiency kills, a countdown timer bequeath begin. If you look at the top right of the Upgrade Station, you can tell if He's gotten enough kills. Green means yes, red means nary.
Once it's green, Klaus testament then initiate a lockdown sequence with a minute on the timekeeper. Exist for the entire minute and Klaus will receive the rise required for the next step out. This disunite is very difficult, so make sure you have monkeys, a full Field Upgrade, Jugger-Nog, and your CRBR-S available to take out the enemies.
Step 6: Gain entrance to secret lab
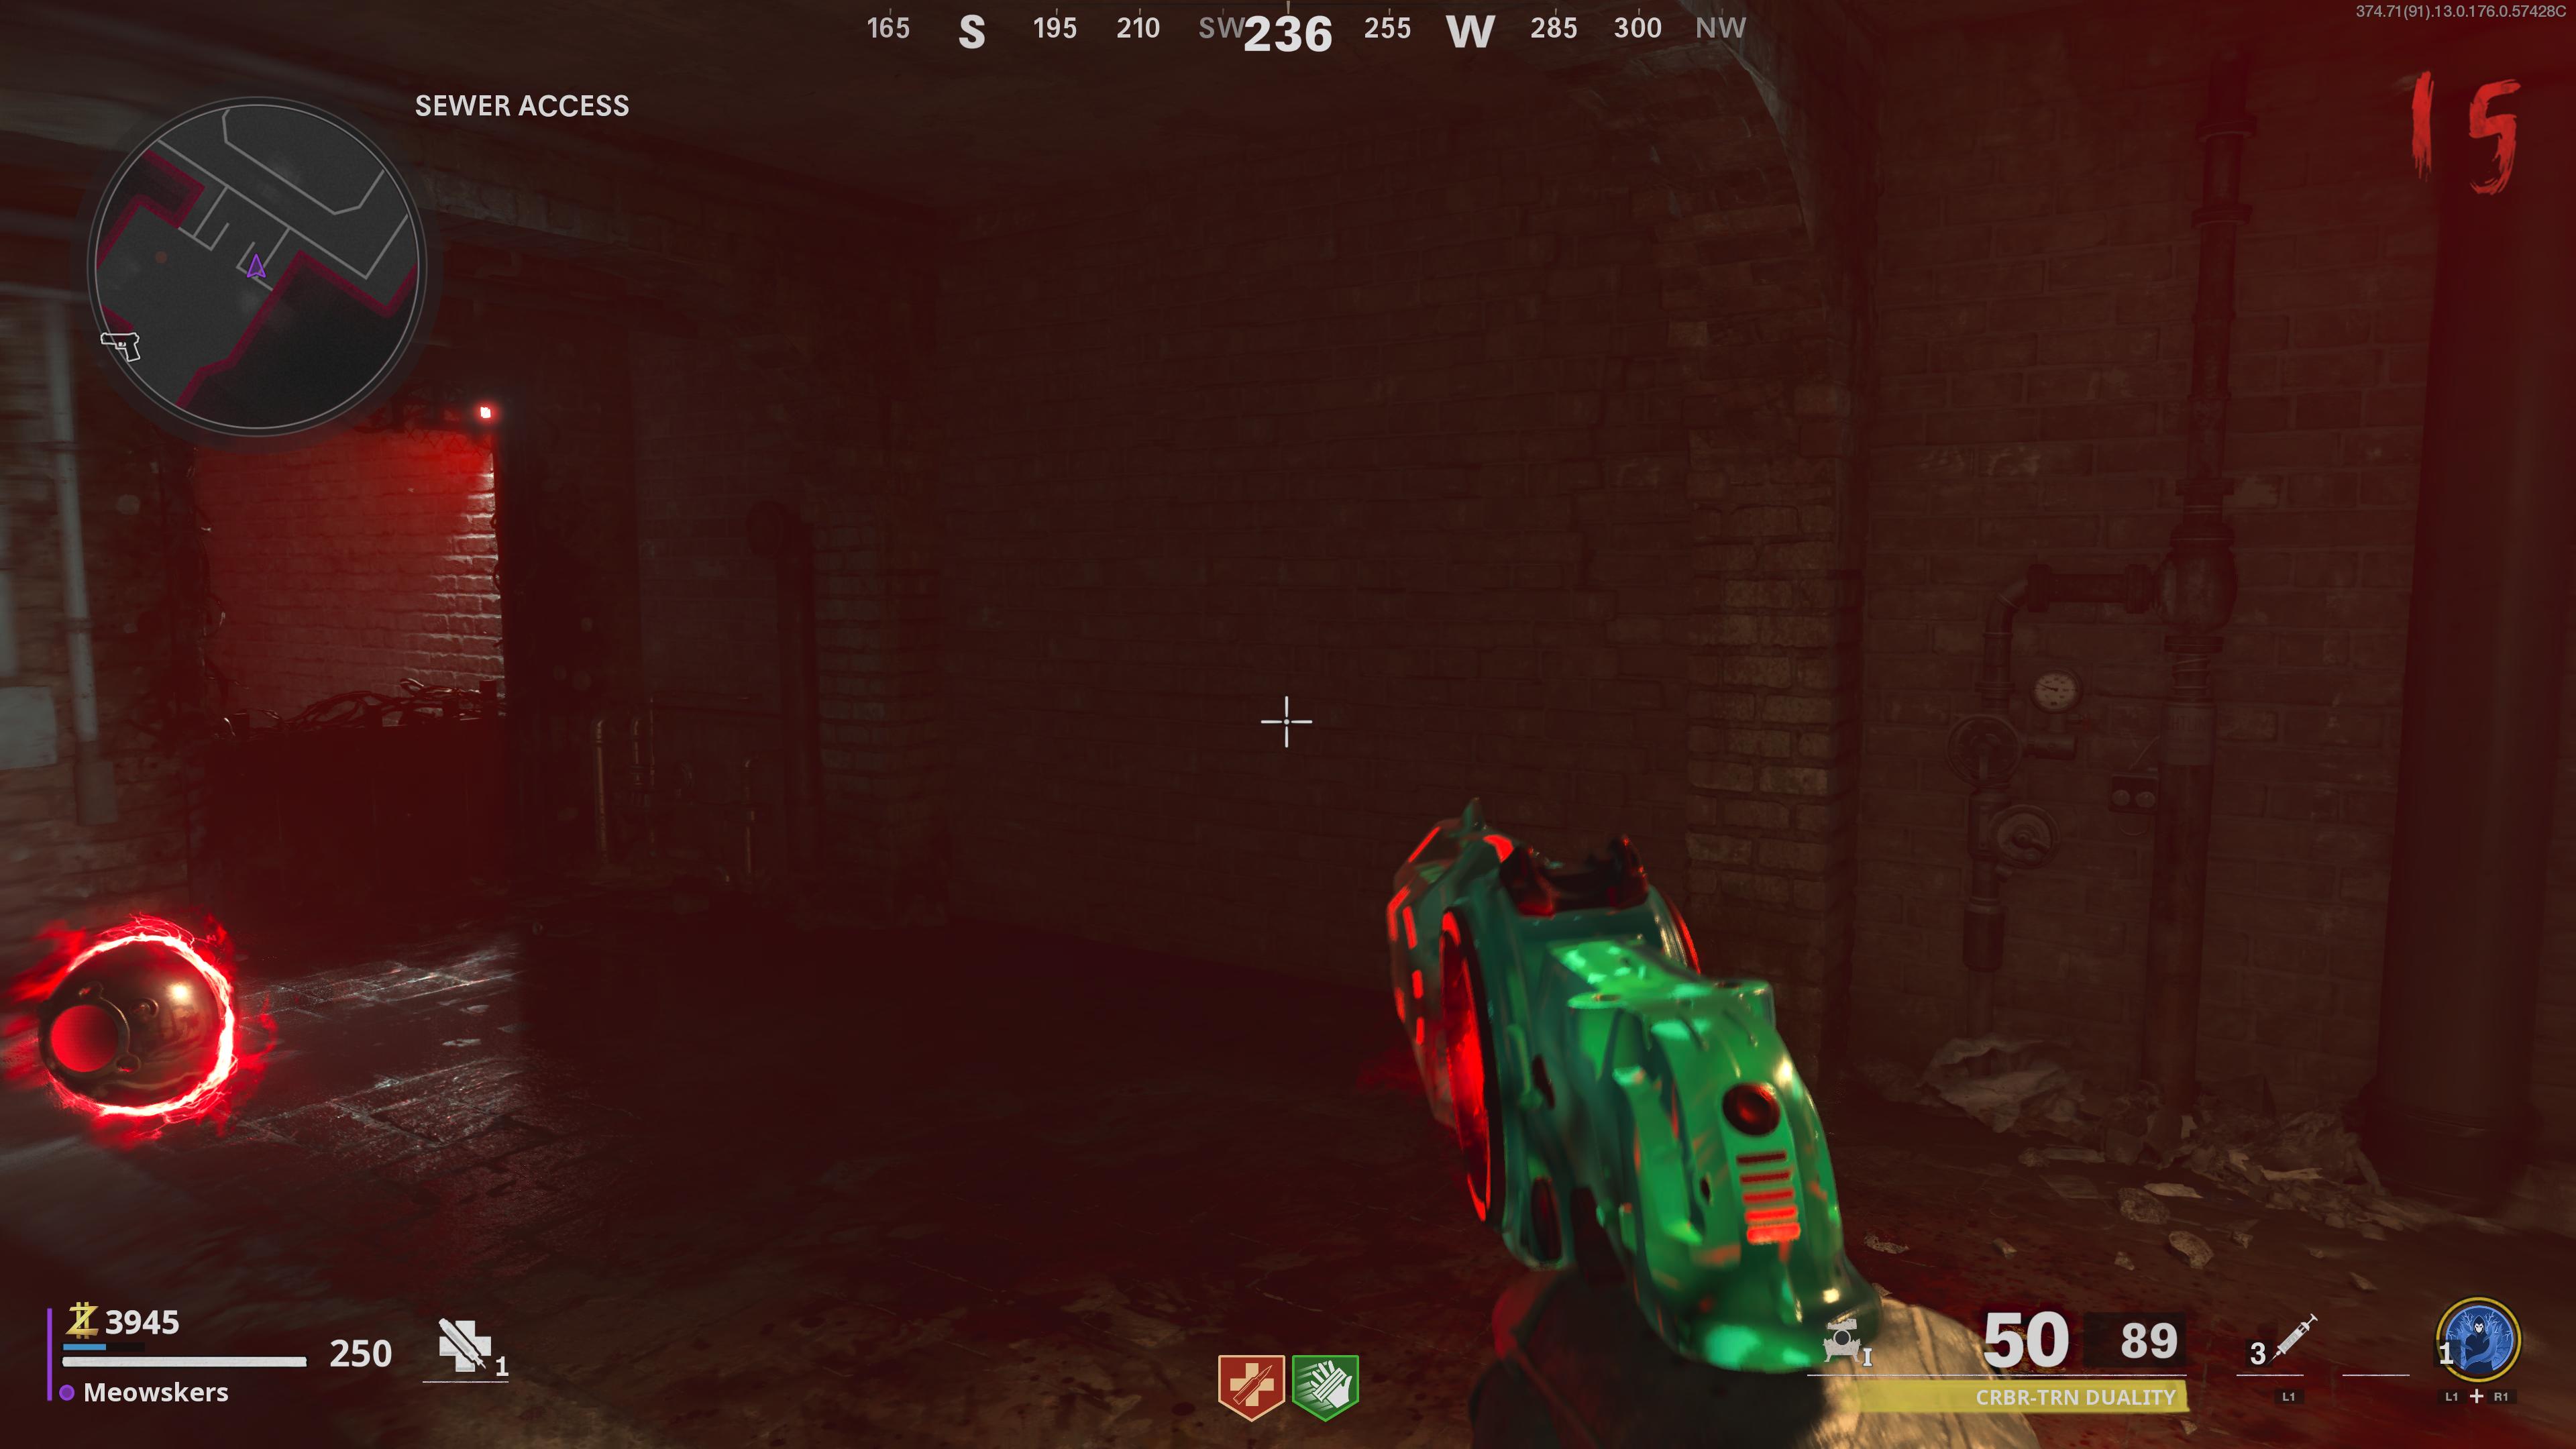
Afterward the upgrade division is complete, school principal down to the Sewer Access area and lure Klaus to the fence in on the West broadside. Summon him right in advance of the wall and he'll break it down. Now, use of goods and services the Blazer Mod to burn down the metal door behind the wall. If you don't undergo this mod, you won't be able to comprehensive this step.
Once you burn down the fence in, you'll gain access to the Secret Lab. At this time, there isn't much you can liquidate this room, so move onto the incoming step.
Mistreat 7: Build headgear for Klaus
The next step is to build the headgear for Klaus, and to do so, you need two collect three parts. Luckily, they all spawn in the same locations each agree.
The early one is found in the Electronic Store. Use your CRBR-S to down a radio on the shelf to find the junction transistor.
Next, go back to the very start of the charge and head busy the giant power pylon on the roof. Shoot it and it will drop an antenna.
The final piece is institute in the train area at the Ghost Station.
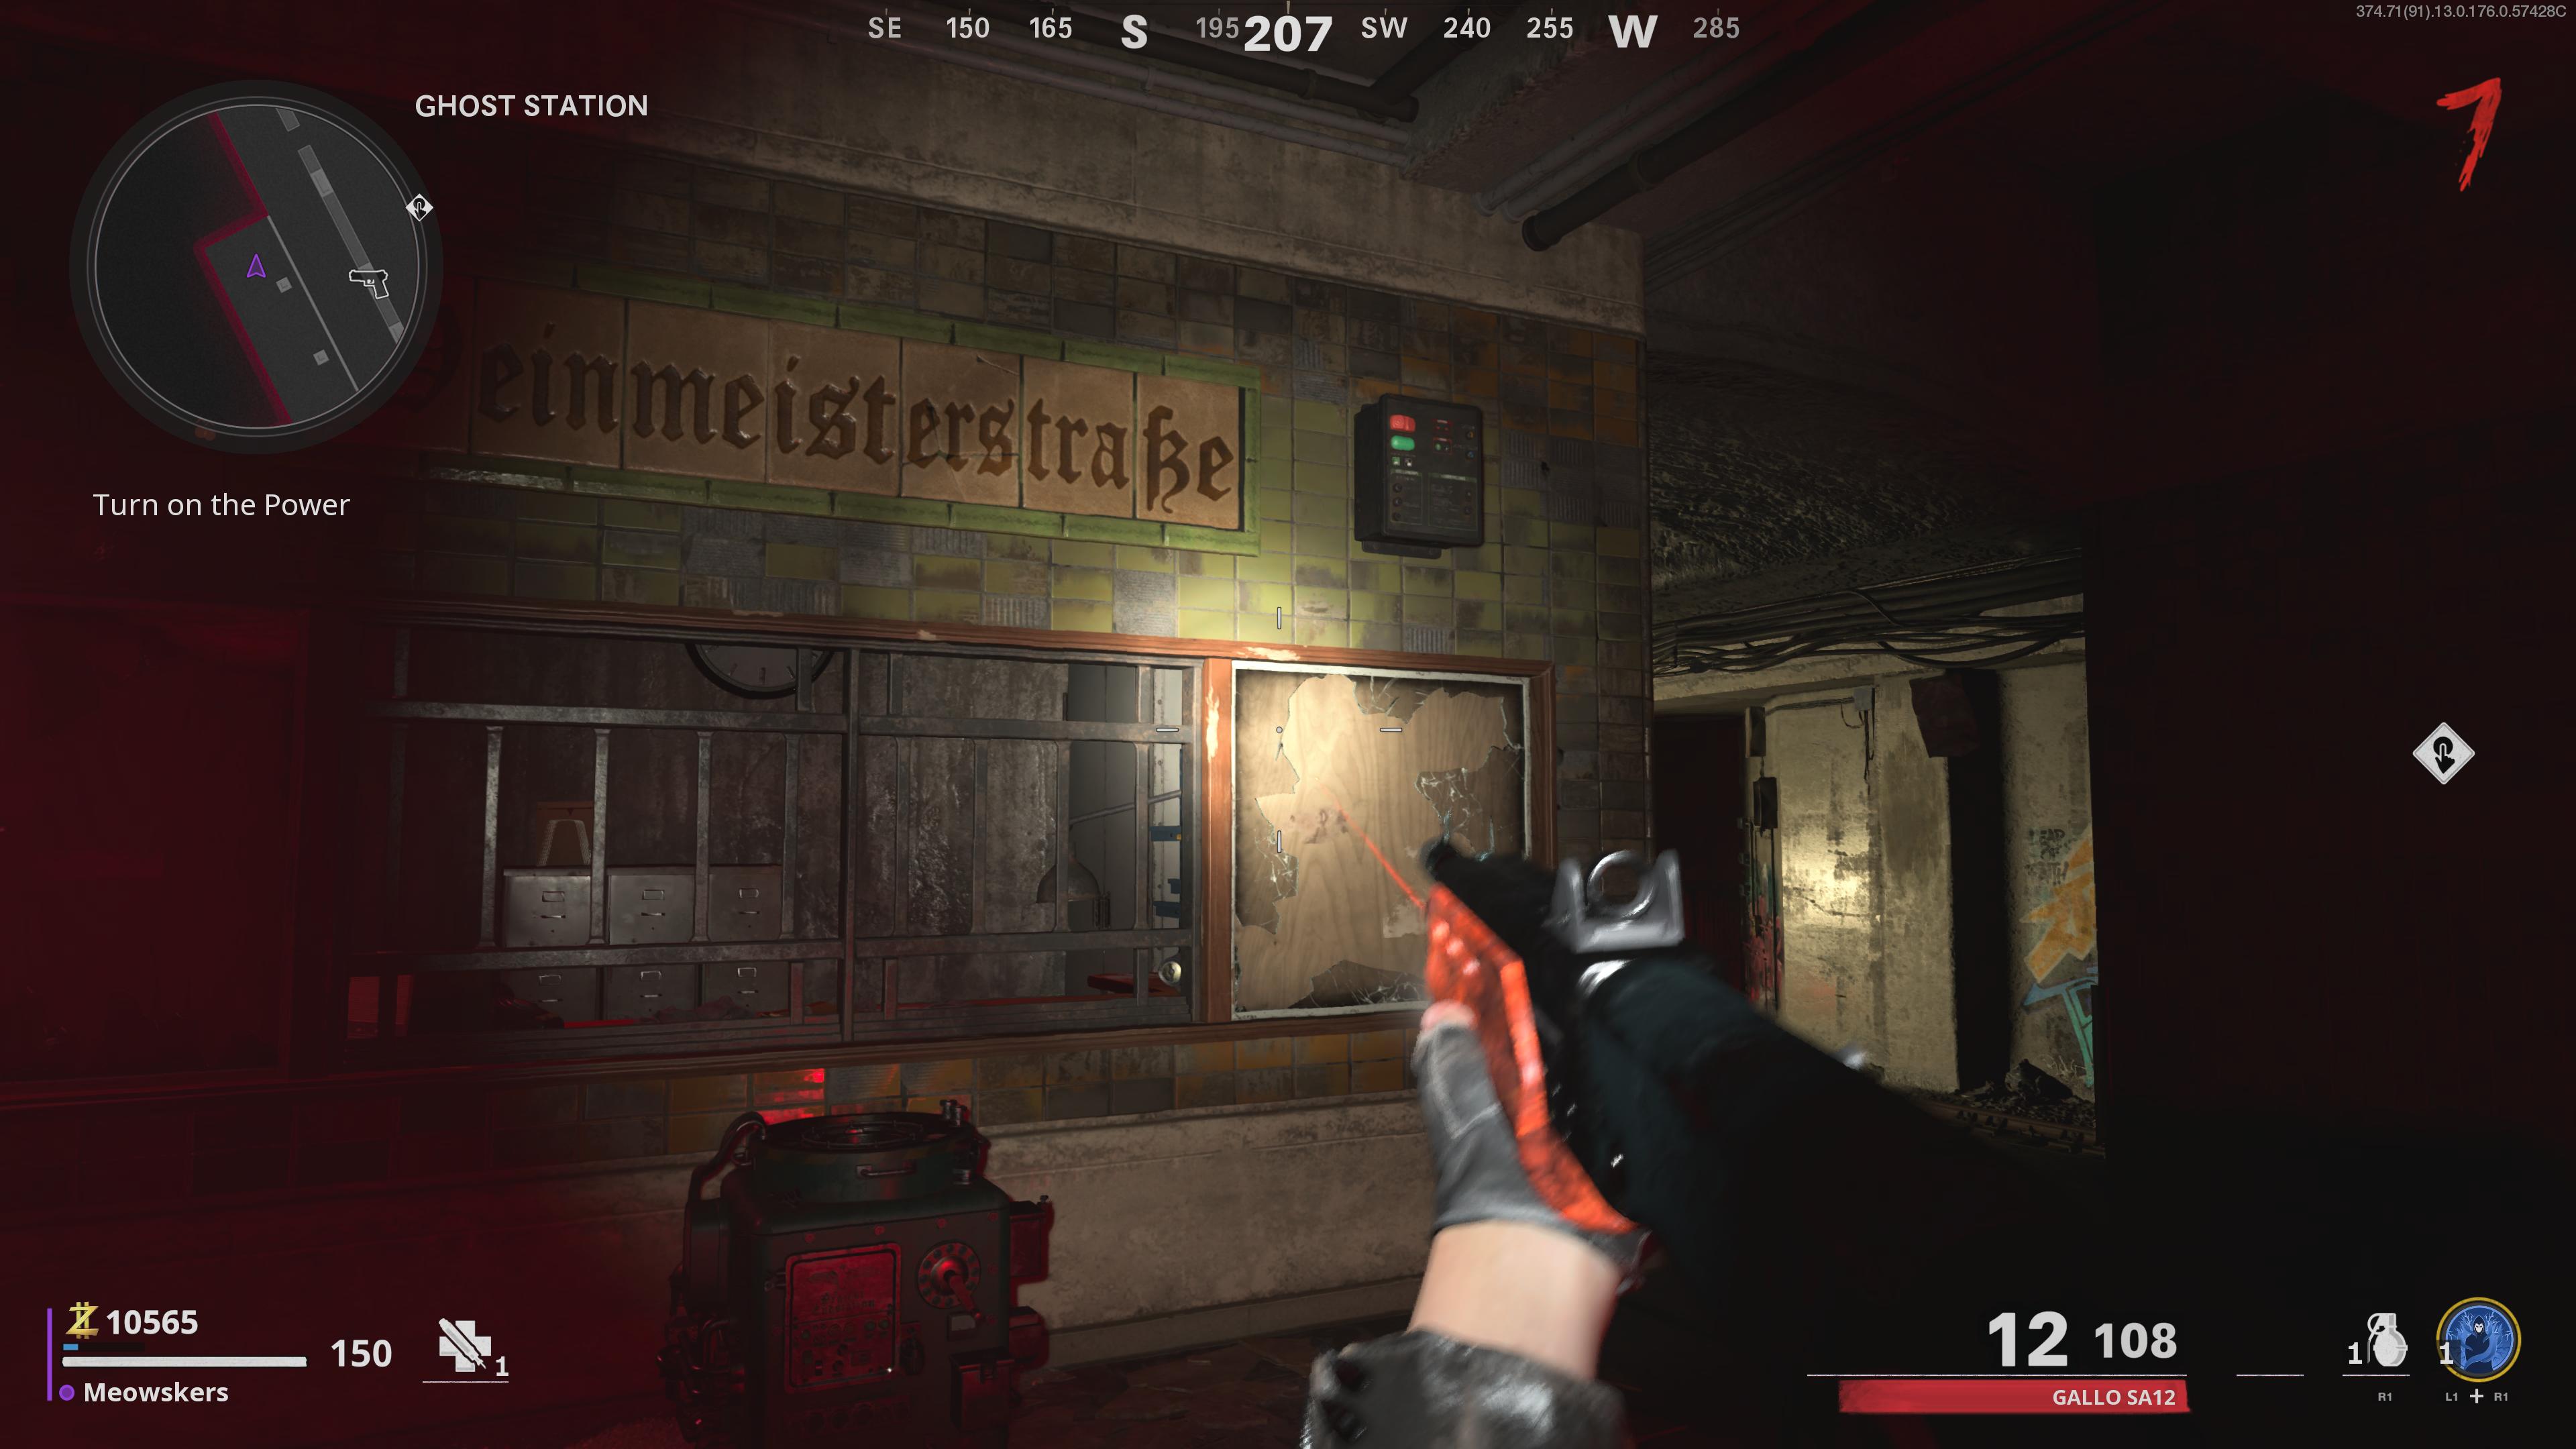
Across from the Mule Kick perk machine is an surface area with a green box on the upper rampart that contains the electronic boards. Note of the green gimmick on the ground called an Essence Reaper, because you'll need to expend these in the next step.
Formerly you have all three, make your way back to Klaus in the Safe Domiciliate and craft the headgear.
Step 8: Seize canisters and take them to Essence Harvesters
Now that the headgear has been placed, go back to the Secret Research laboratory and collect the empty canisters on the bottom floor. Your end at this point is to set out all trine empty canisters at versatile Core Harvesters round the map.
They tend to spawn in different locations, just citation the epitome to a higher place to see what they look like. One almost always spawns in the Spectre Place area, one can sometimes be set up in the Fallen Penthouse, and one is often at Sewer Access. It seems there are much tercet of these Essence Harvesters around the map out, and so you should accept many options.
Step 9: Use essence traps to collect souls
At this point, break back to the Secret Lab and go down to the bottom floor. Close to the fleeceable monitors along the right side of the room is a machine that holds the Endstation Lure. Use of goods and services the CRBR-S to shoot it and pick up the essence bunker that drops from it.
Like a sho, date from to the three Core Harvesters around the map, shed dejected the Endstation Lure and kill everything seeable. Humorous zombies will fill the canister and once it's brimming, take information technology pull out to the Confidential Lab and deposit it in the midst of the room on the bottom story.
Retell this step two more multiplication for from each one of the left Essence Harvesters. Livelihood in mind, only one Endstation Lure can be acquired per round, so information technology will take three rounds to complete this process.
Step 10: Use Klaus to stop a aim
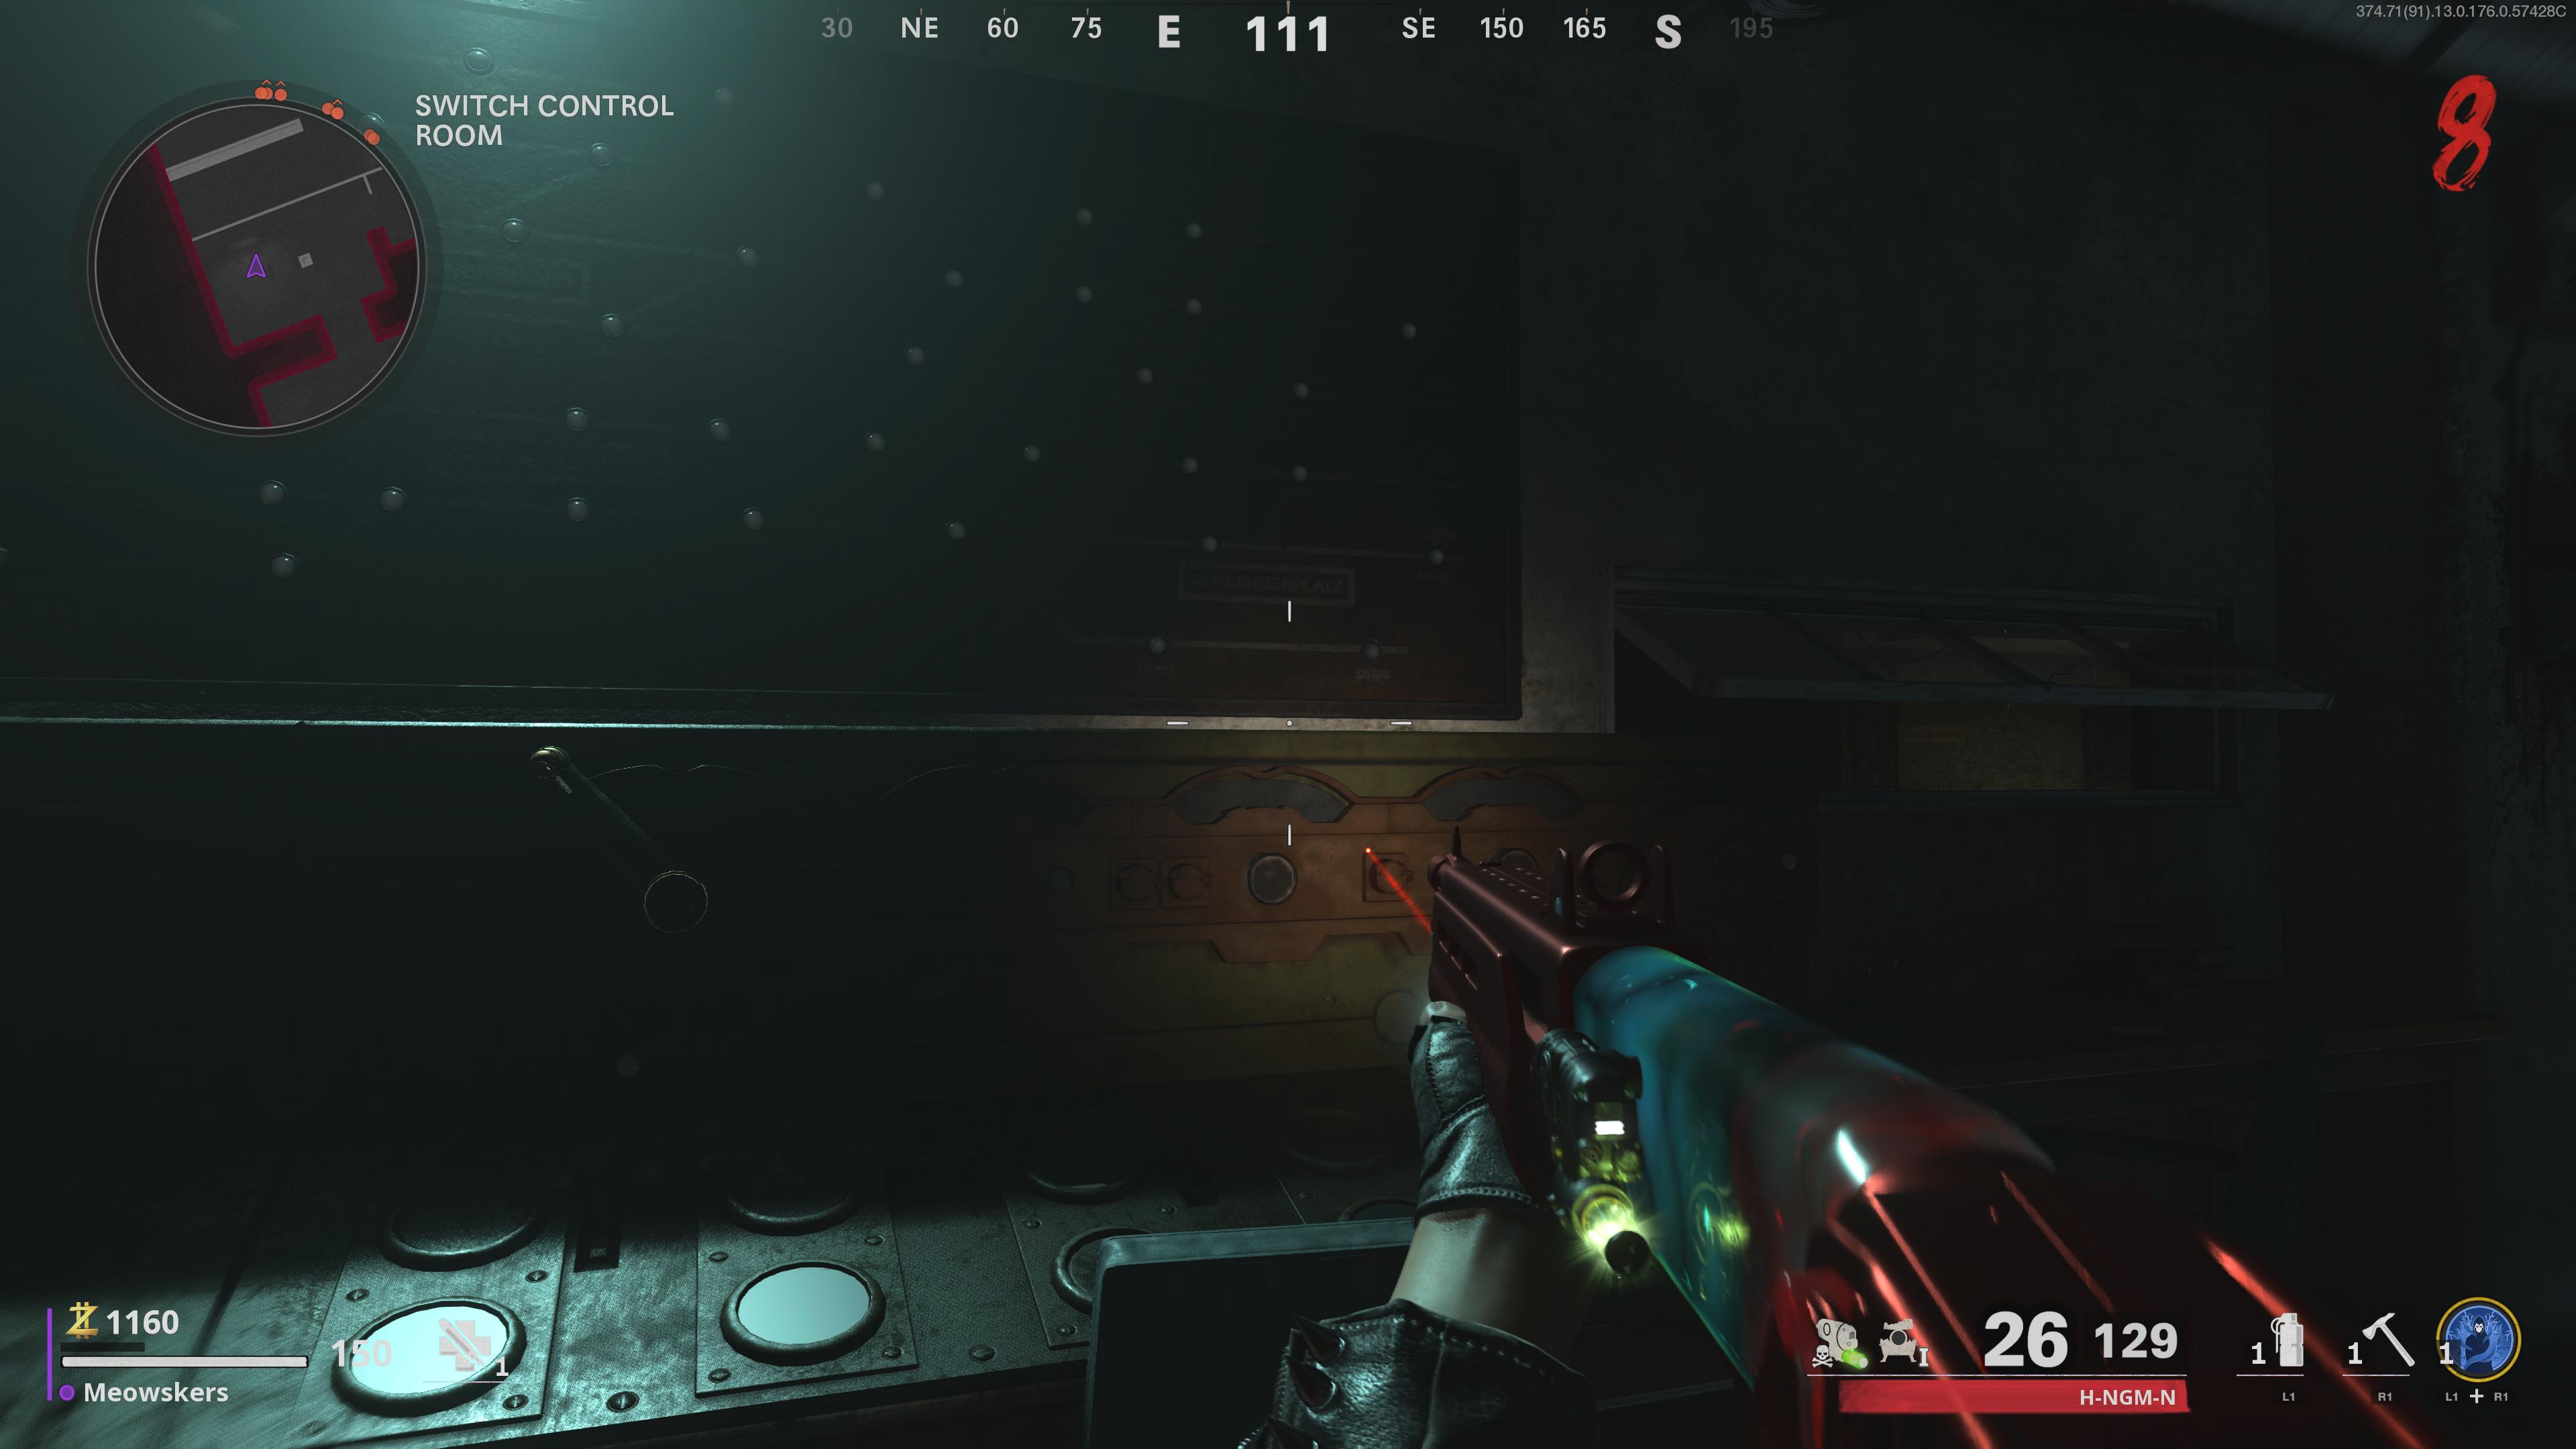
After all three canisters have been deposited, make your way spine to Klaus, activate him, and lure him to the Ghost Station region where the trains are. Make sure he's standing on the tracks, then get on into the Flip Control Room to interact with the Railway Switch. Doing so will trigger a train, which will crash immediately into Klaus, as he Chicago IT in its tracks.
Inscribe the train and snap up the Bomb and Rico's Keycard, keeping in mind, you Don't have a lot of time to complete this step. Basically, run in and quickly snap the two items and then spring out.
Step 11: Craft uranium twist

Nowadays, go back off to the Safe House room where Klaus is ordinarily located and interact with the computer in the focus until the prompts hold out away. The screen will turn red, so once it does, make your agency to West Berlin Street and interact with the figurer in the tent to the outside of the Trial gimmick to activate the disruptor satellite.
Extend acting until a Megaton spawns. After you've killed information technology, uranium will come out of them, which will induction a countdown timekeeper of 5 minutes. Now, head back into the tent with the computer display and workmanship the uranium device on the workbench.
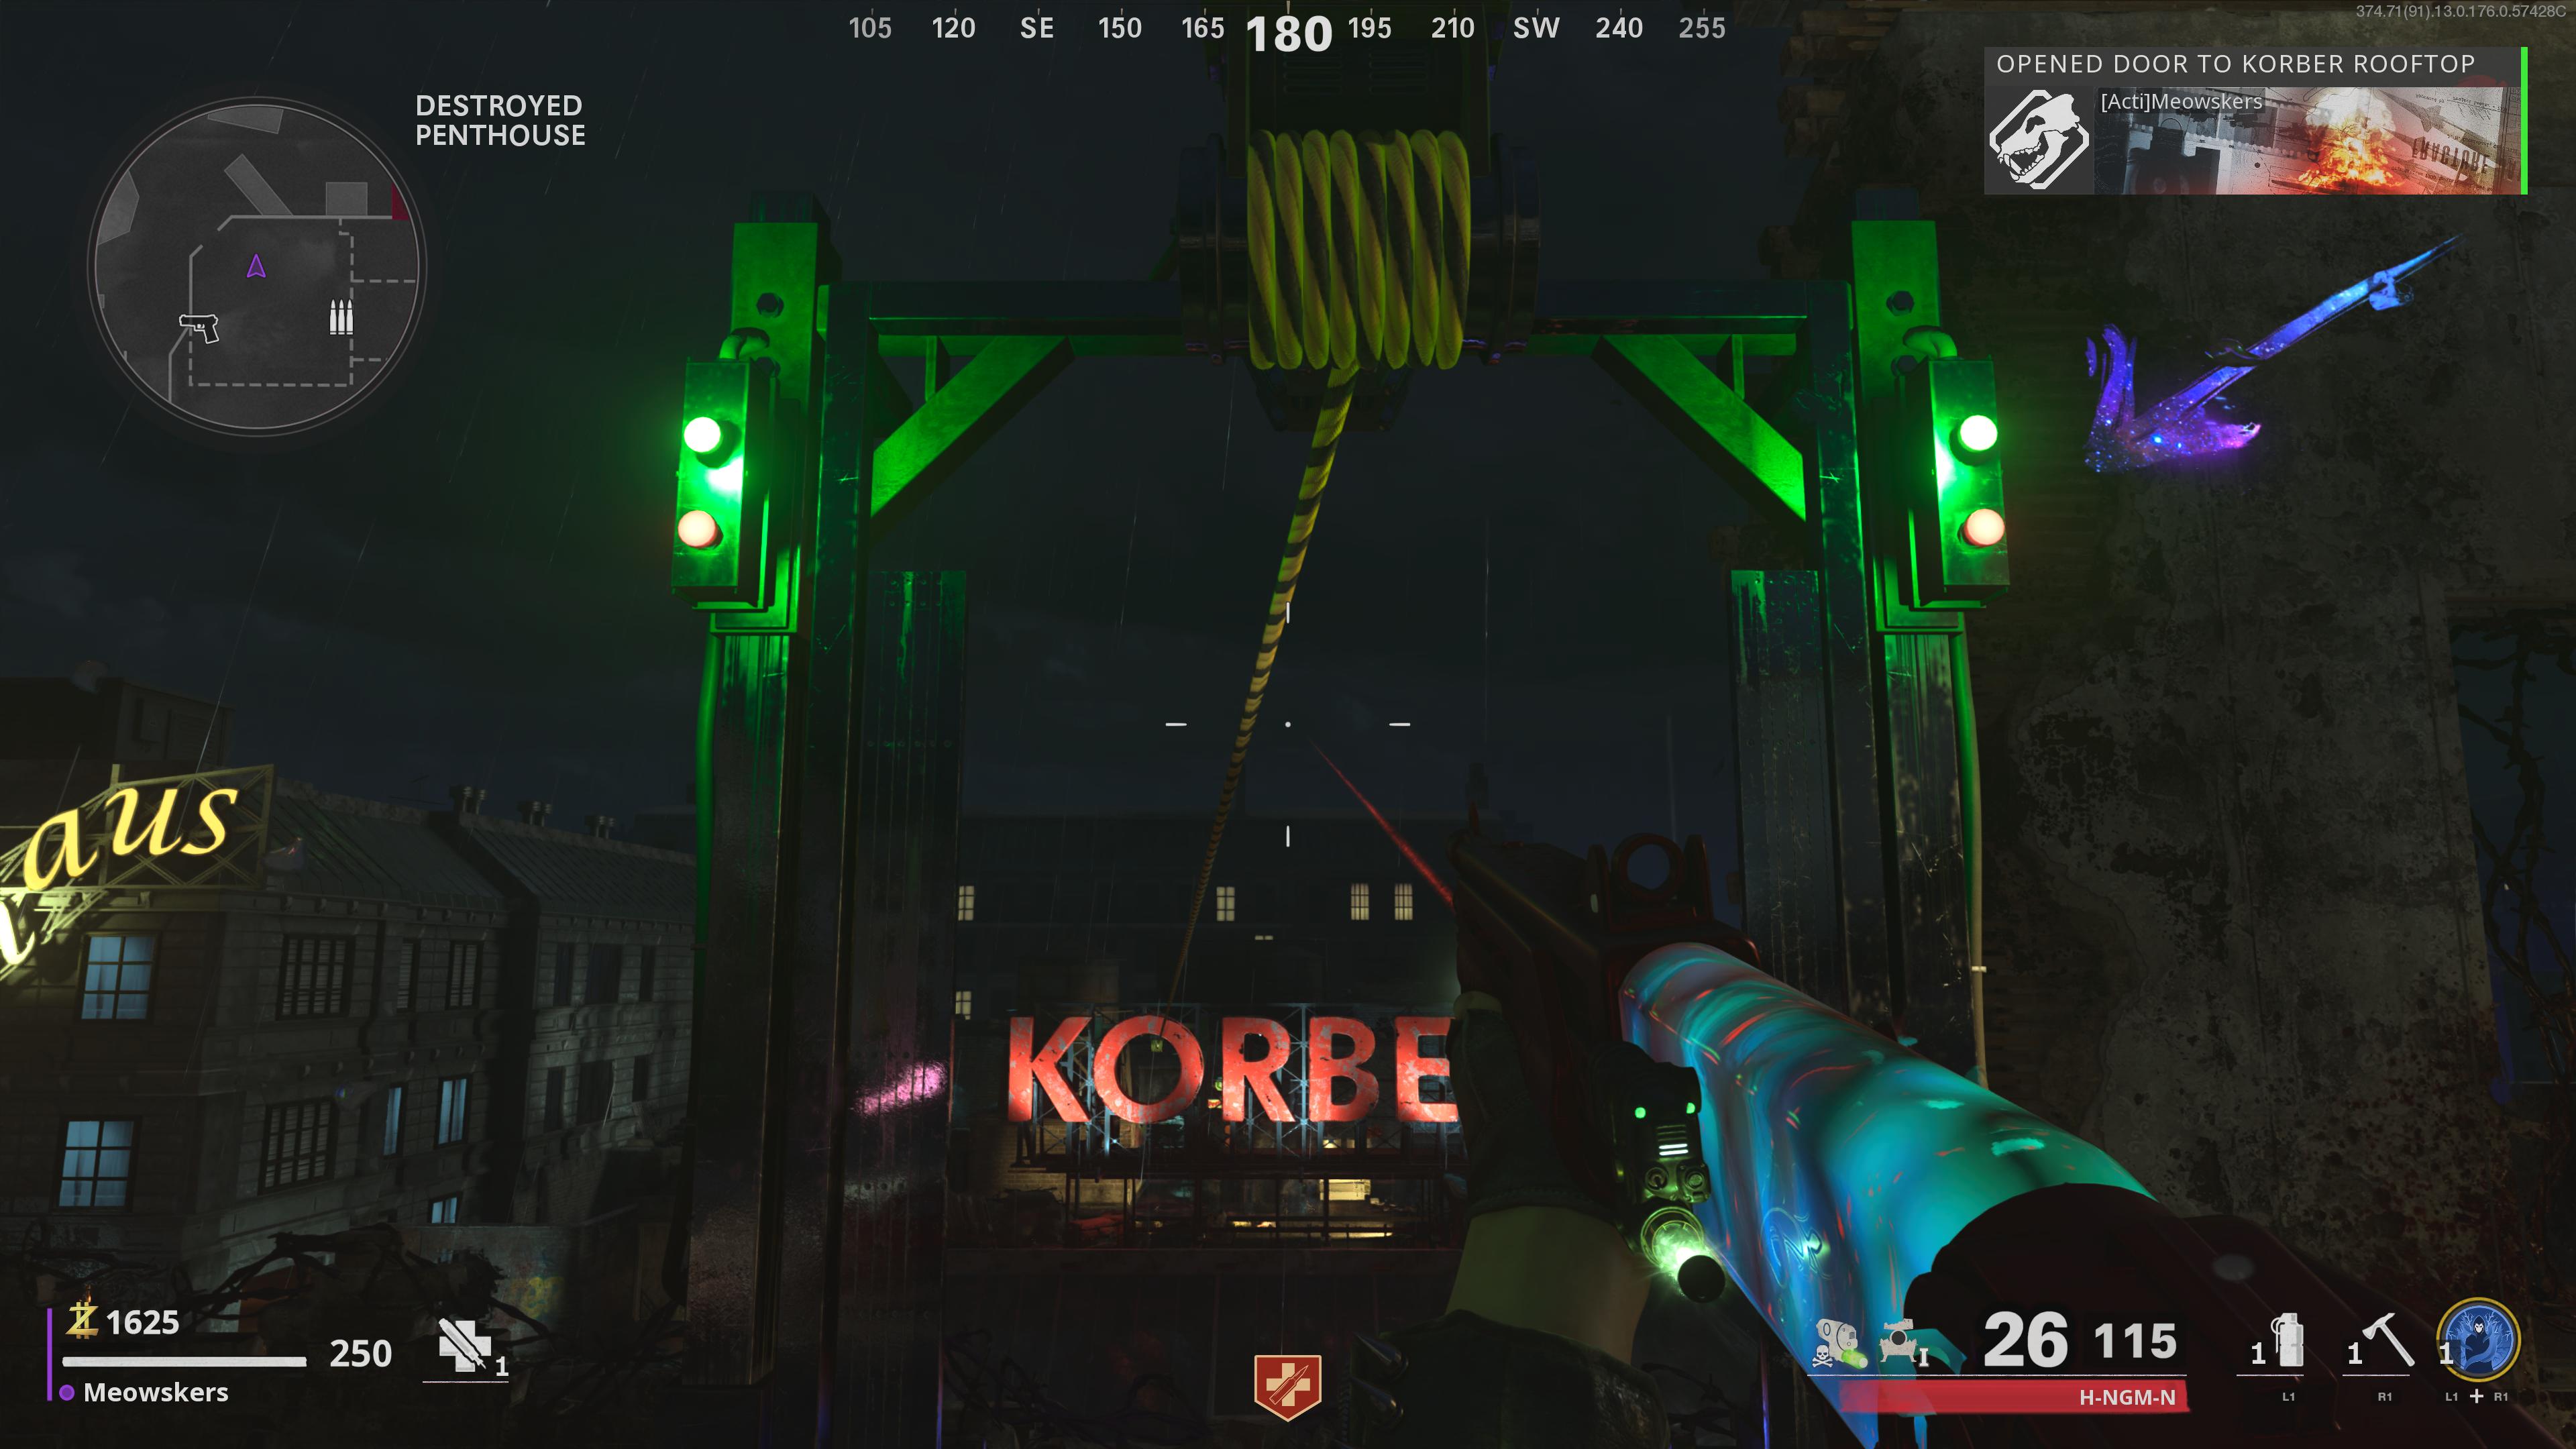
What you need to do is head capable the Destroyed Penthouse (you hindquarters get there via abseil from the Food market in East Berlin Streets). Once at the top, place the uranium device on the zipline that leads forbidden across the street (as pictured above).
Now, go back downstairs and craft another U twist in the tent from before. Take it to the building across from the zipline where you placed the first U device (it's the rooftop above the Garment Factory). Go to the zipline by the large sign and place the next uranium twist here.
This will send both devices at uncomparable another, causing a hulk blowup that combines the two into a cleansed rock.
Step 12: Place cleaned rock in Secret Science lab
Aft that, catch the clean rock that drops beneath the zipline and have it to the Mystery Lab and keep back in mind, this is the last step before the boss. Once you place the cleansed rock in the device within the lab, the fight volition commence.
Step 13: Valentina boss fight
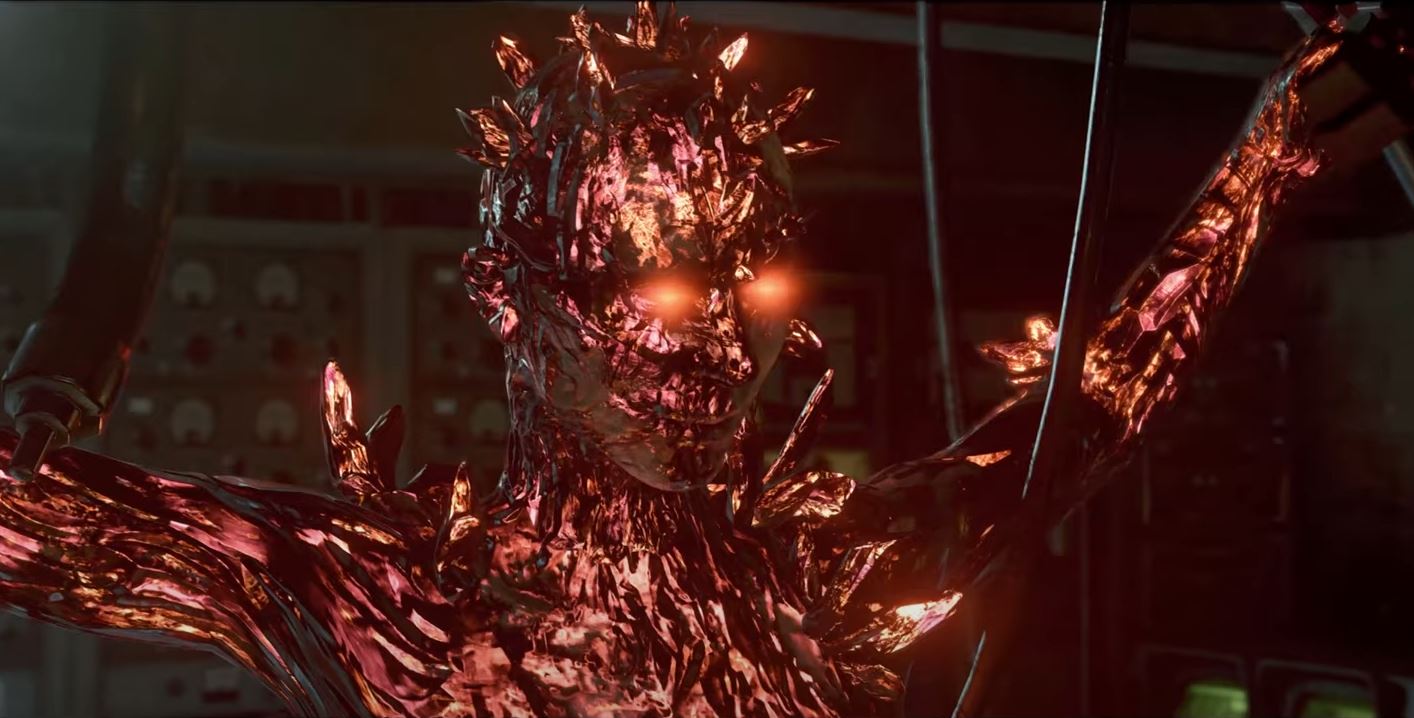
As shortly American Samoa the fight down starts, we commend fetching cover behind a wall. From hither, bug out and get shots on the boss if it's safe to practise so. Dungeon in mind, a few zombies will spawn throughout this phase. Your goal is to damage Valentina's shield sufficient to break it down. Once it's broken, you'll be able to damage her enough to Whittle down to three-quarters wellness.
She'll then teleport to the West Berlin Street area where the process is mostly the same. Flash back her shields enough to break them down and then you'll be able-bodied to actually damage her chief health ginmill. We extremely paint a picture victimisation the CRBR-S Wonder Weapon passim this fight, as it does high legal injury. If you keep your aloofness and don't get greedy, you'll do asymptomatic against this boss.
Succeeding, Valentina testament breed on top of the Destroyed Penthouse. During this section, relieve oneself laps between the top floor and the combined beneath it as you damage her each time. During this phase, in that location are two moves you'll want to watch out for.
One is her healing move, which consists of her evocation zombies around her that will replenish her wellness. If you kill them all, she'll stop healing thus go far a antecedence to take them out.
Valentina's wipe assault is also deathly, merely is telegraphed away a serial of depressed orbs that appear around her. Once that happens, you indigence to break your line of whole lot with the boss by immediately attractive cover. Once this attack is all over, it'll be safe to come in and fritter away her again.
After this phase, she'll warp back down to E Berlin, so continue wailing on her with everything you have at this point. We highly suggest using a Demise Machine killstreak if possible present because they're quite devastating.
The final phase sends you back down to the Secret Science lab, so continue running laps, shooting when it's uninjured to do so while being cautious of your surroundings. After you've depleted her health to zero point, a cutscene will start up, but be alive, the East wind Orchis is non concluded.
You'll then face a final moving ridge of enemies that will come at you from the front so power through IT one last time and then the Easter Egg will be finished. Extract and it's mission complete.

Chief Joseph loves Nintendo and horror games. With the Nintendo Electrical switch, He's ready to get spooky anytime, anywhere. He specializes in covering Birdcall of Duty: Warzone and litigate RPGs like Sorry Souls, so you can bet he's looking forward to Elden Ring, the brainchild of George RR Martin and Hidetaka Miyazaki. You force out find Joseph's work on GamesRadar, Extremity Trends, Inverse, and Make for Magazine. When he's not writing about video recording games he can usually be recovered petting his cats and hearing to any Modern All-metal. He thinks Meshuggah is tight.

Source: https://www.gamesradar.com/cold-war-mauer-der-toten-easter-egg-guide/
Posted by: eisenhauerbript1952.blogspot.com
0 Response to "Black Ops Cold War Mauer Der Toten Easter Egg guide - eisenhauerbript1952"
Post a Comment